Zeos Contenda
The story begins...
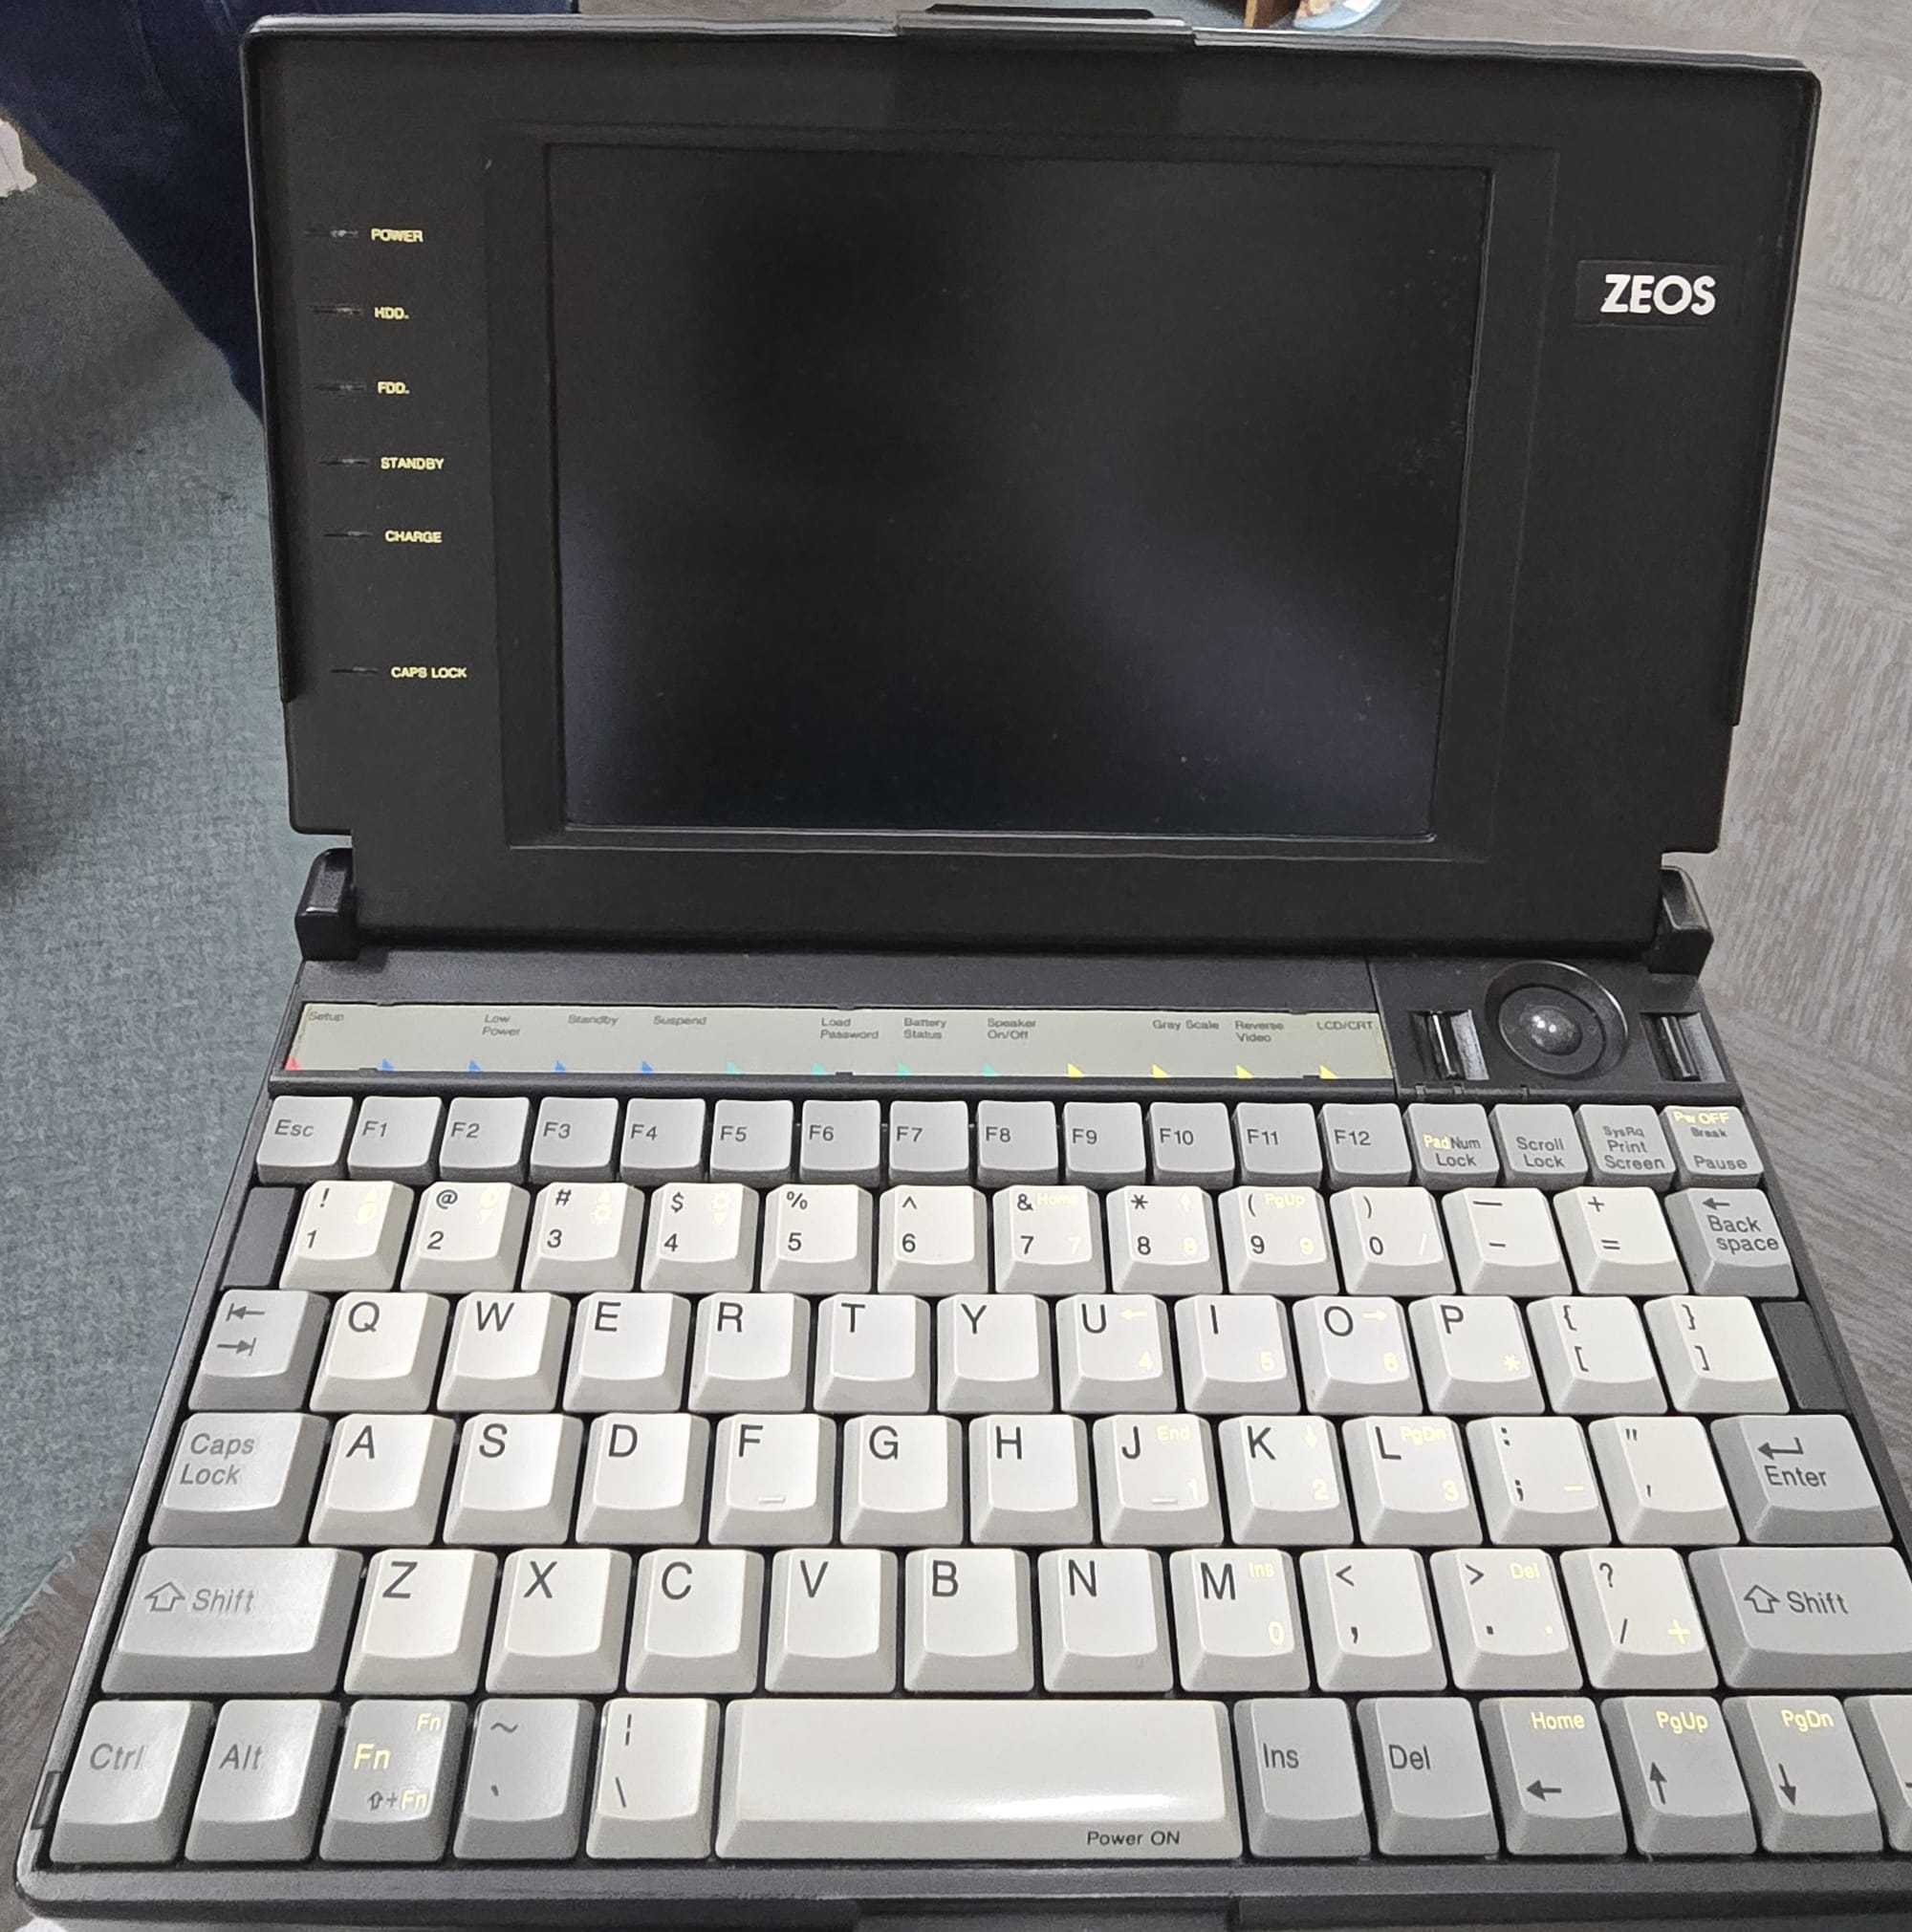
My wife and I were at an antique mall a few weeks ago when I saw this little guy sitting on a counter, marked $20. I figured even if it didn't boot up, hey, it's $20.
After some quick surgery to a couple of power supplies to mate the needed barrel size with the needed voltage:
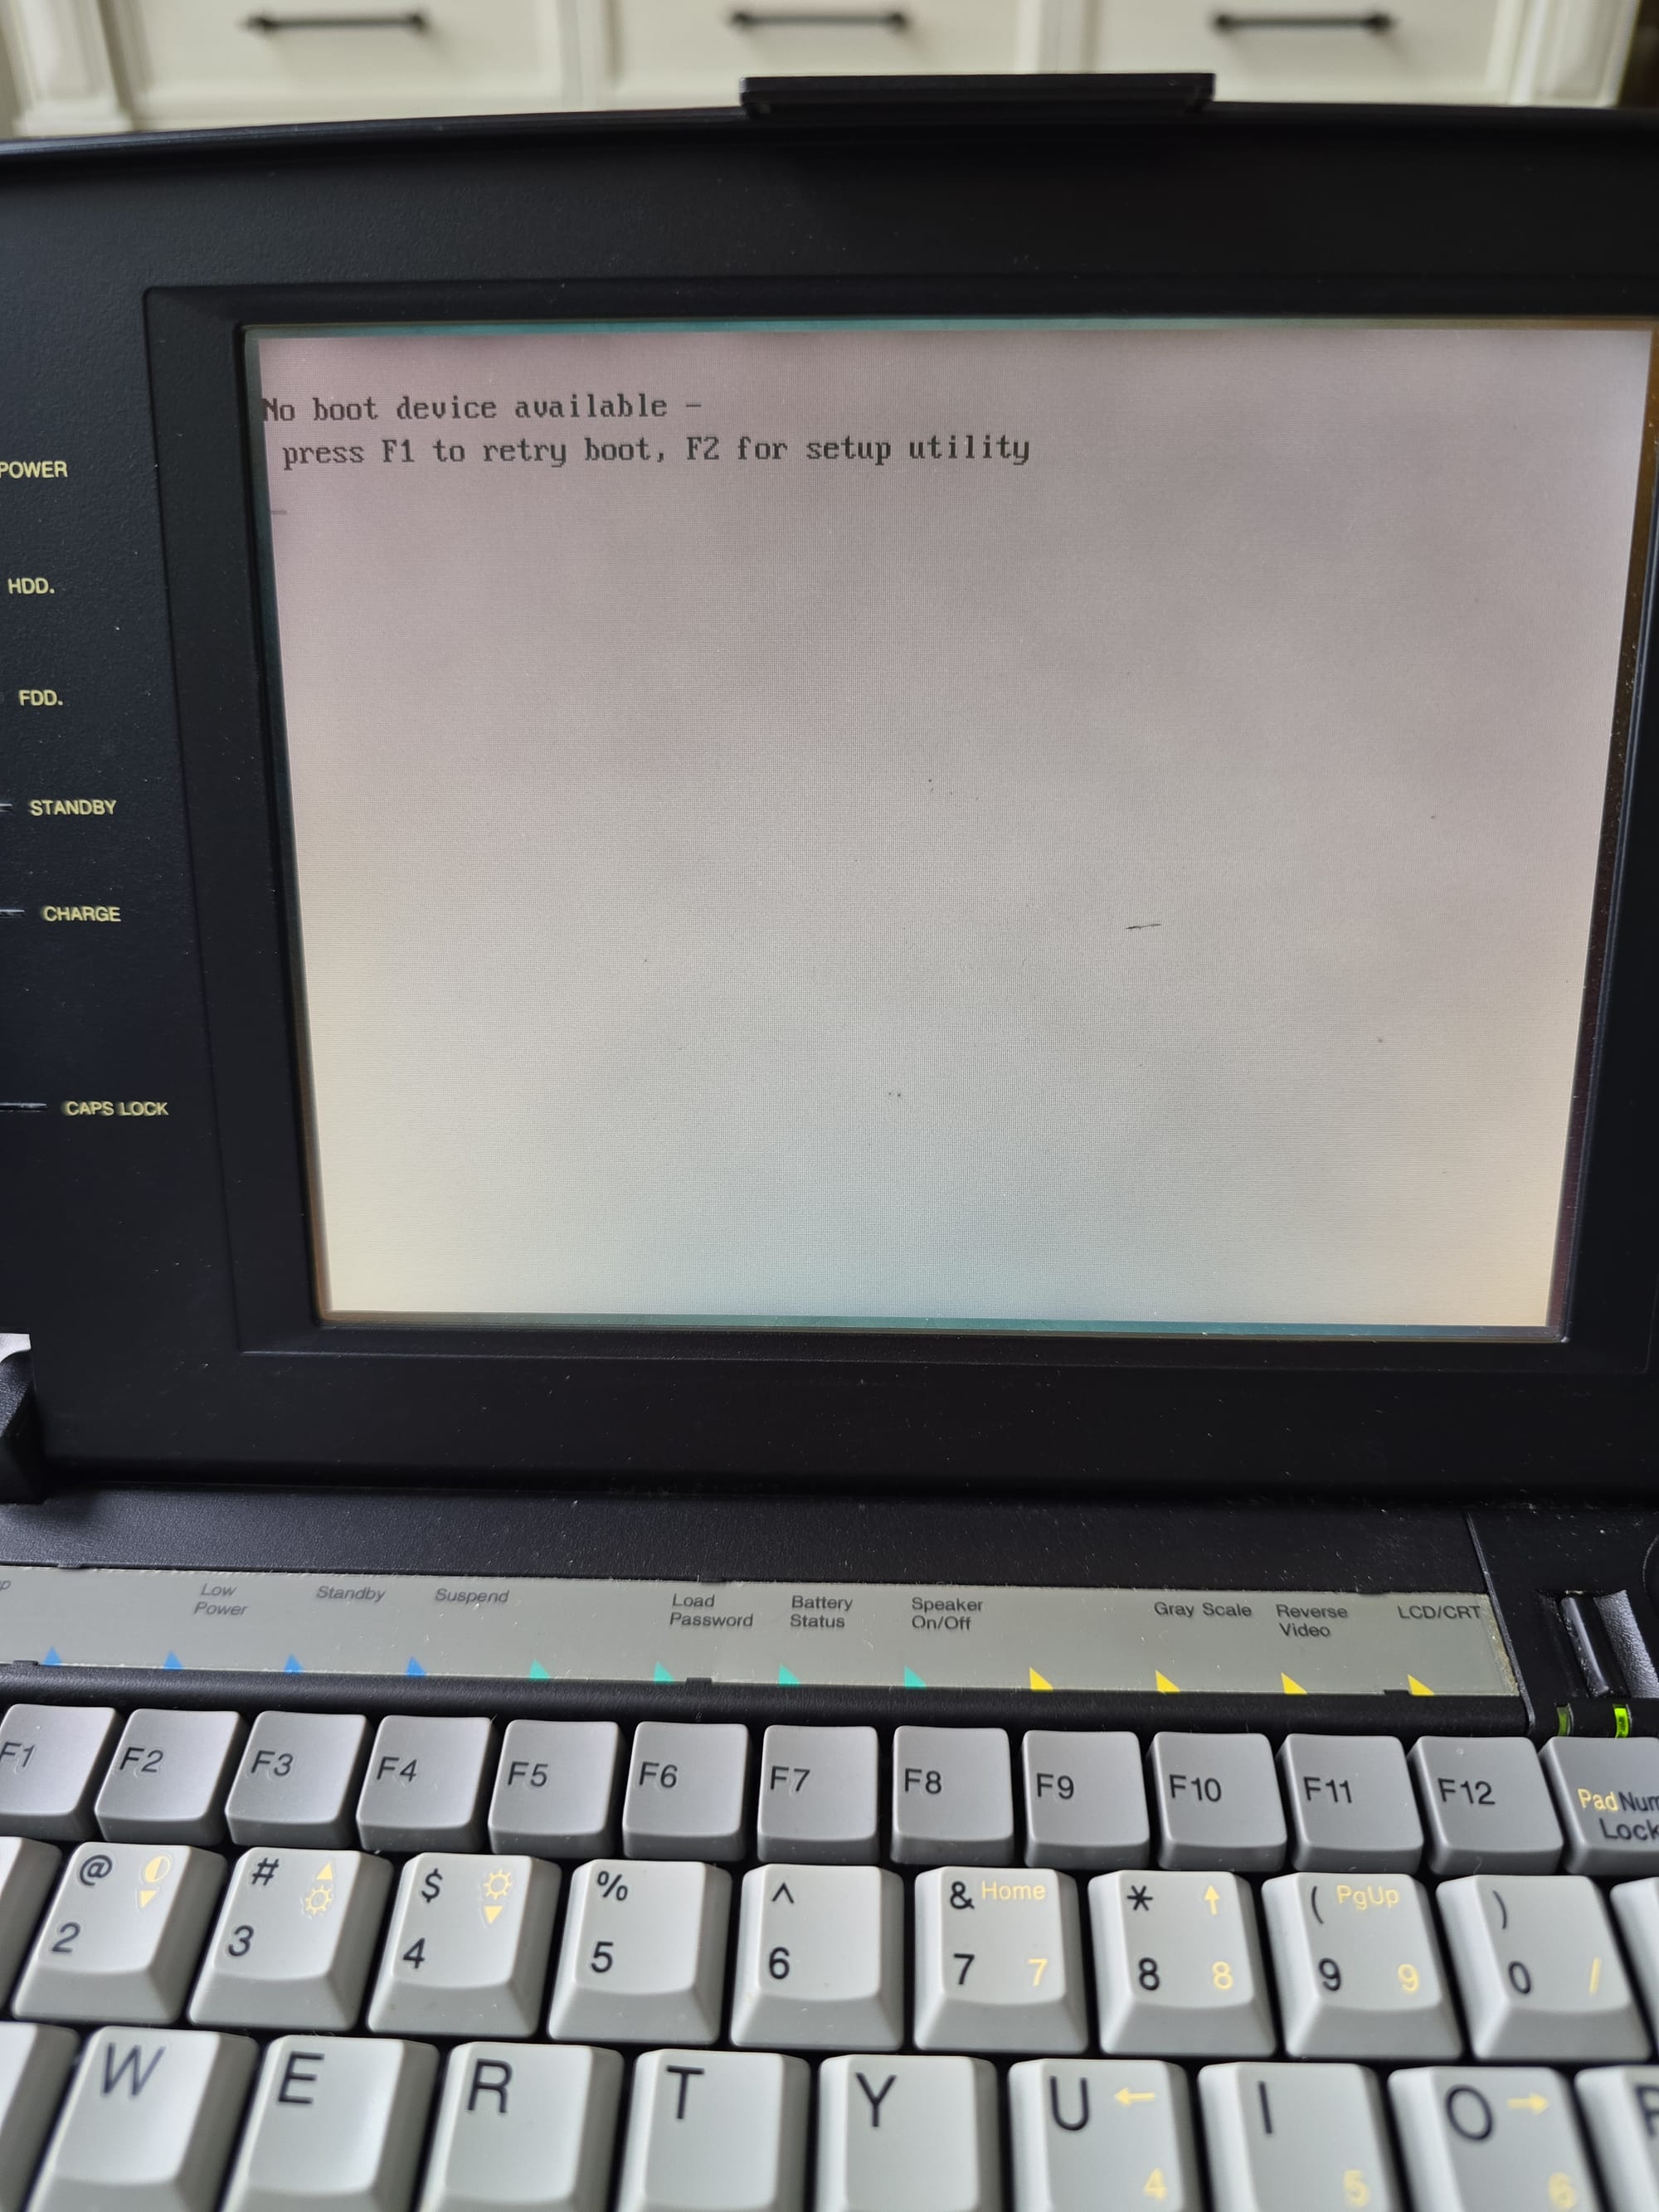
Much to my surprise and delight, it boots up! The screen is nearly perfect - that little black line about midway down and towards the right edge is not on the surface. All the keys work, and while the battery is (predictably) dead, it managed not to leak all over everything.
Specs:
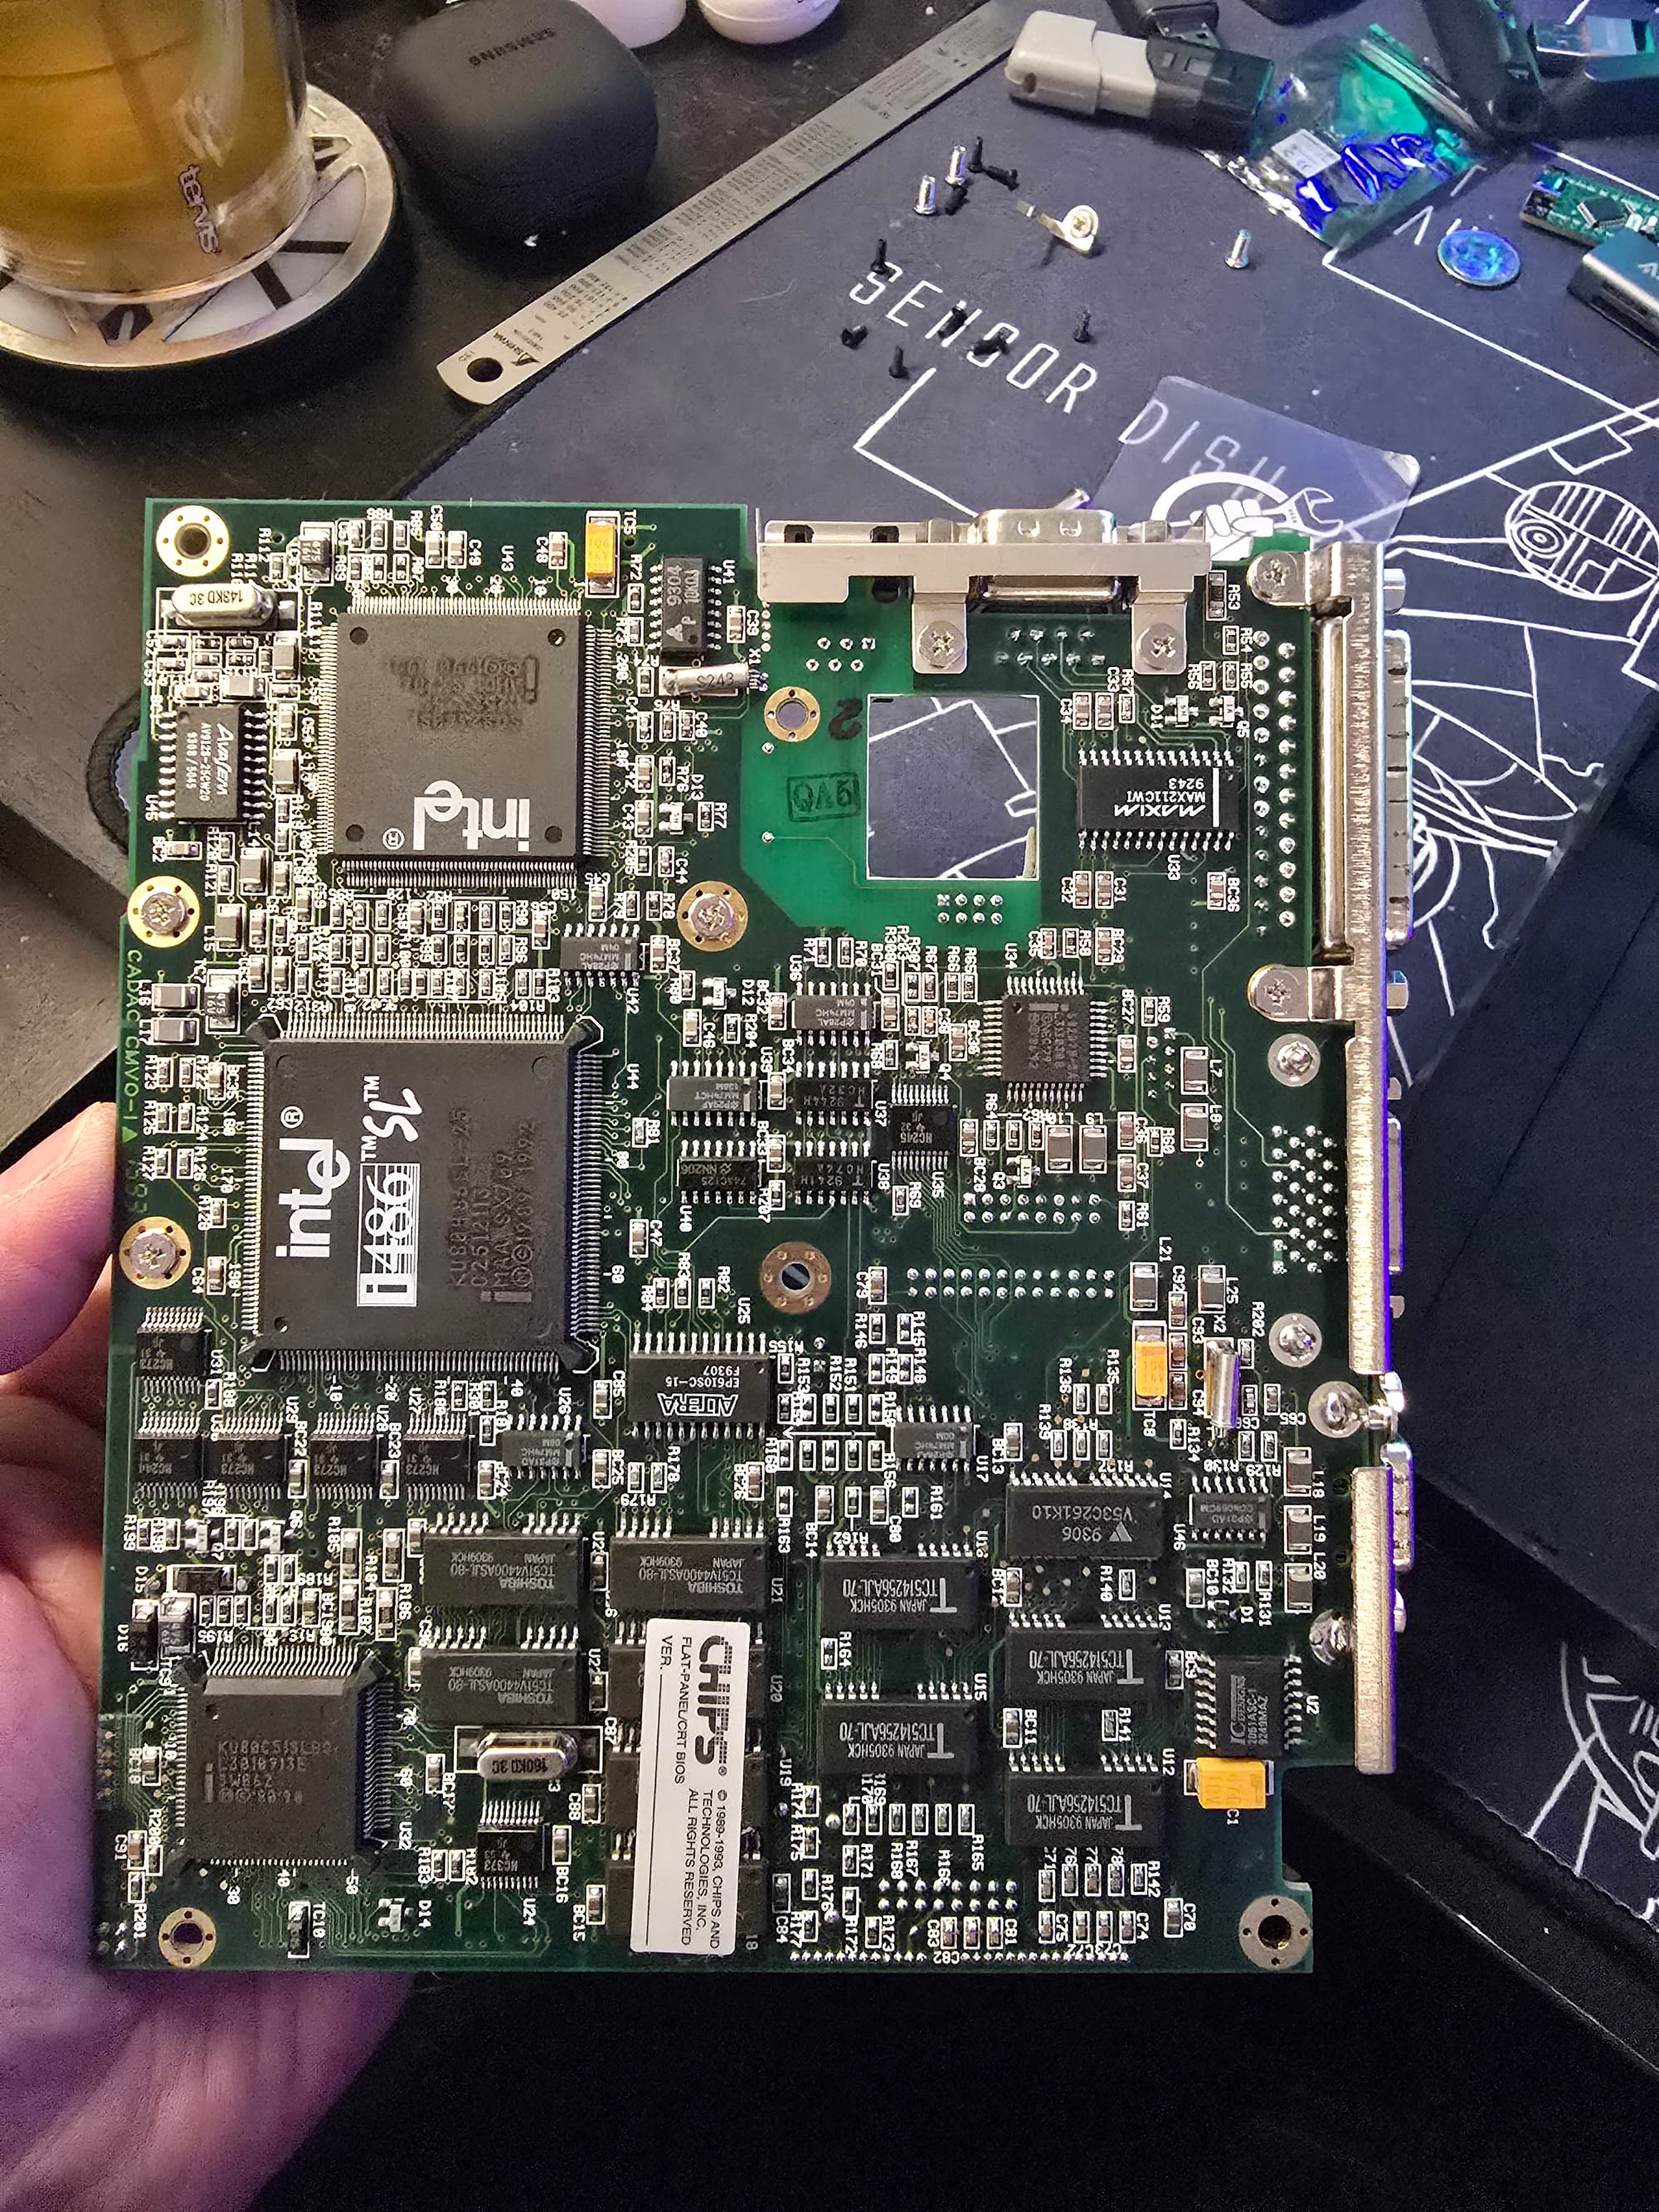
Intel 80486SL/25 (low power variant of the 486)
4MB RAM, expandable to 8MB via a proprietary module
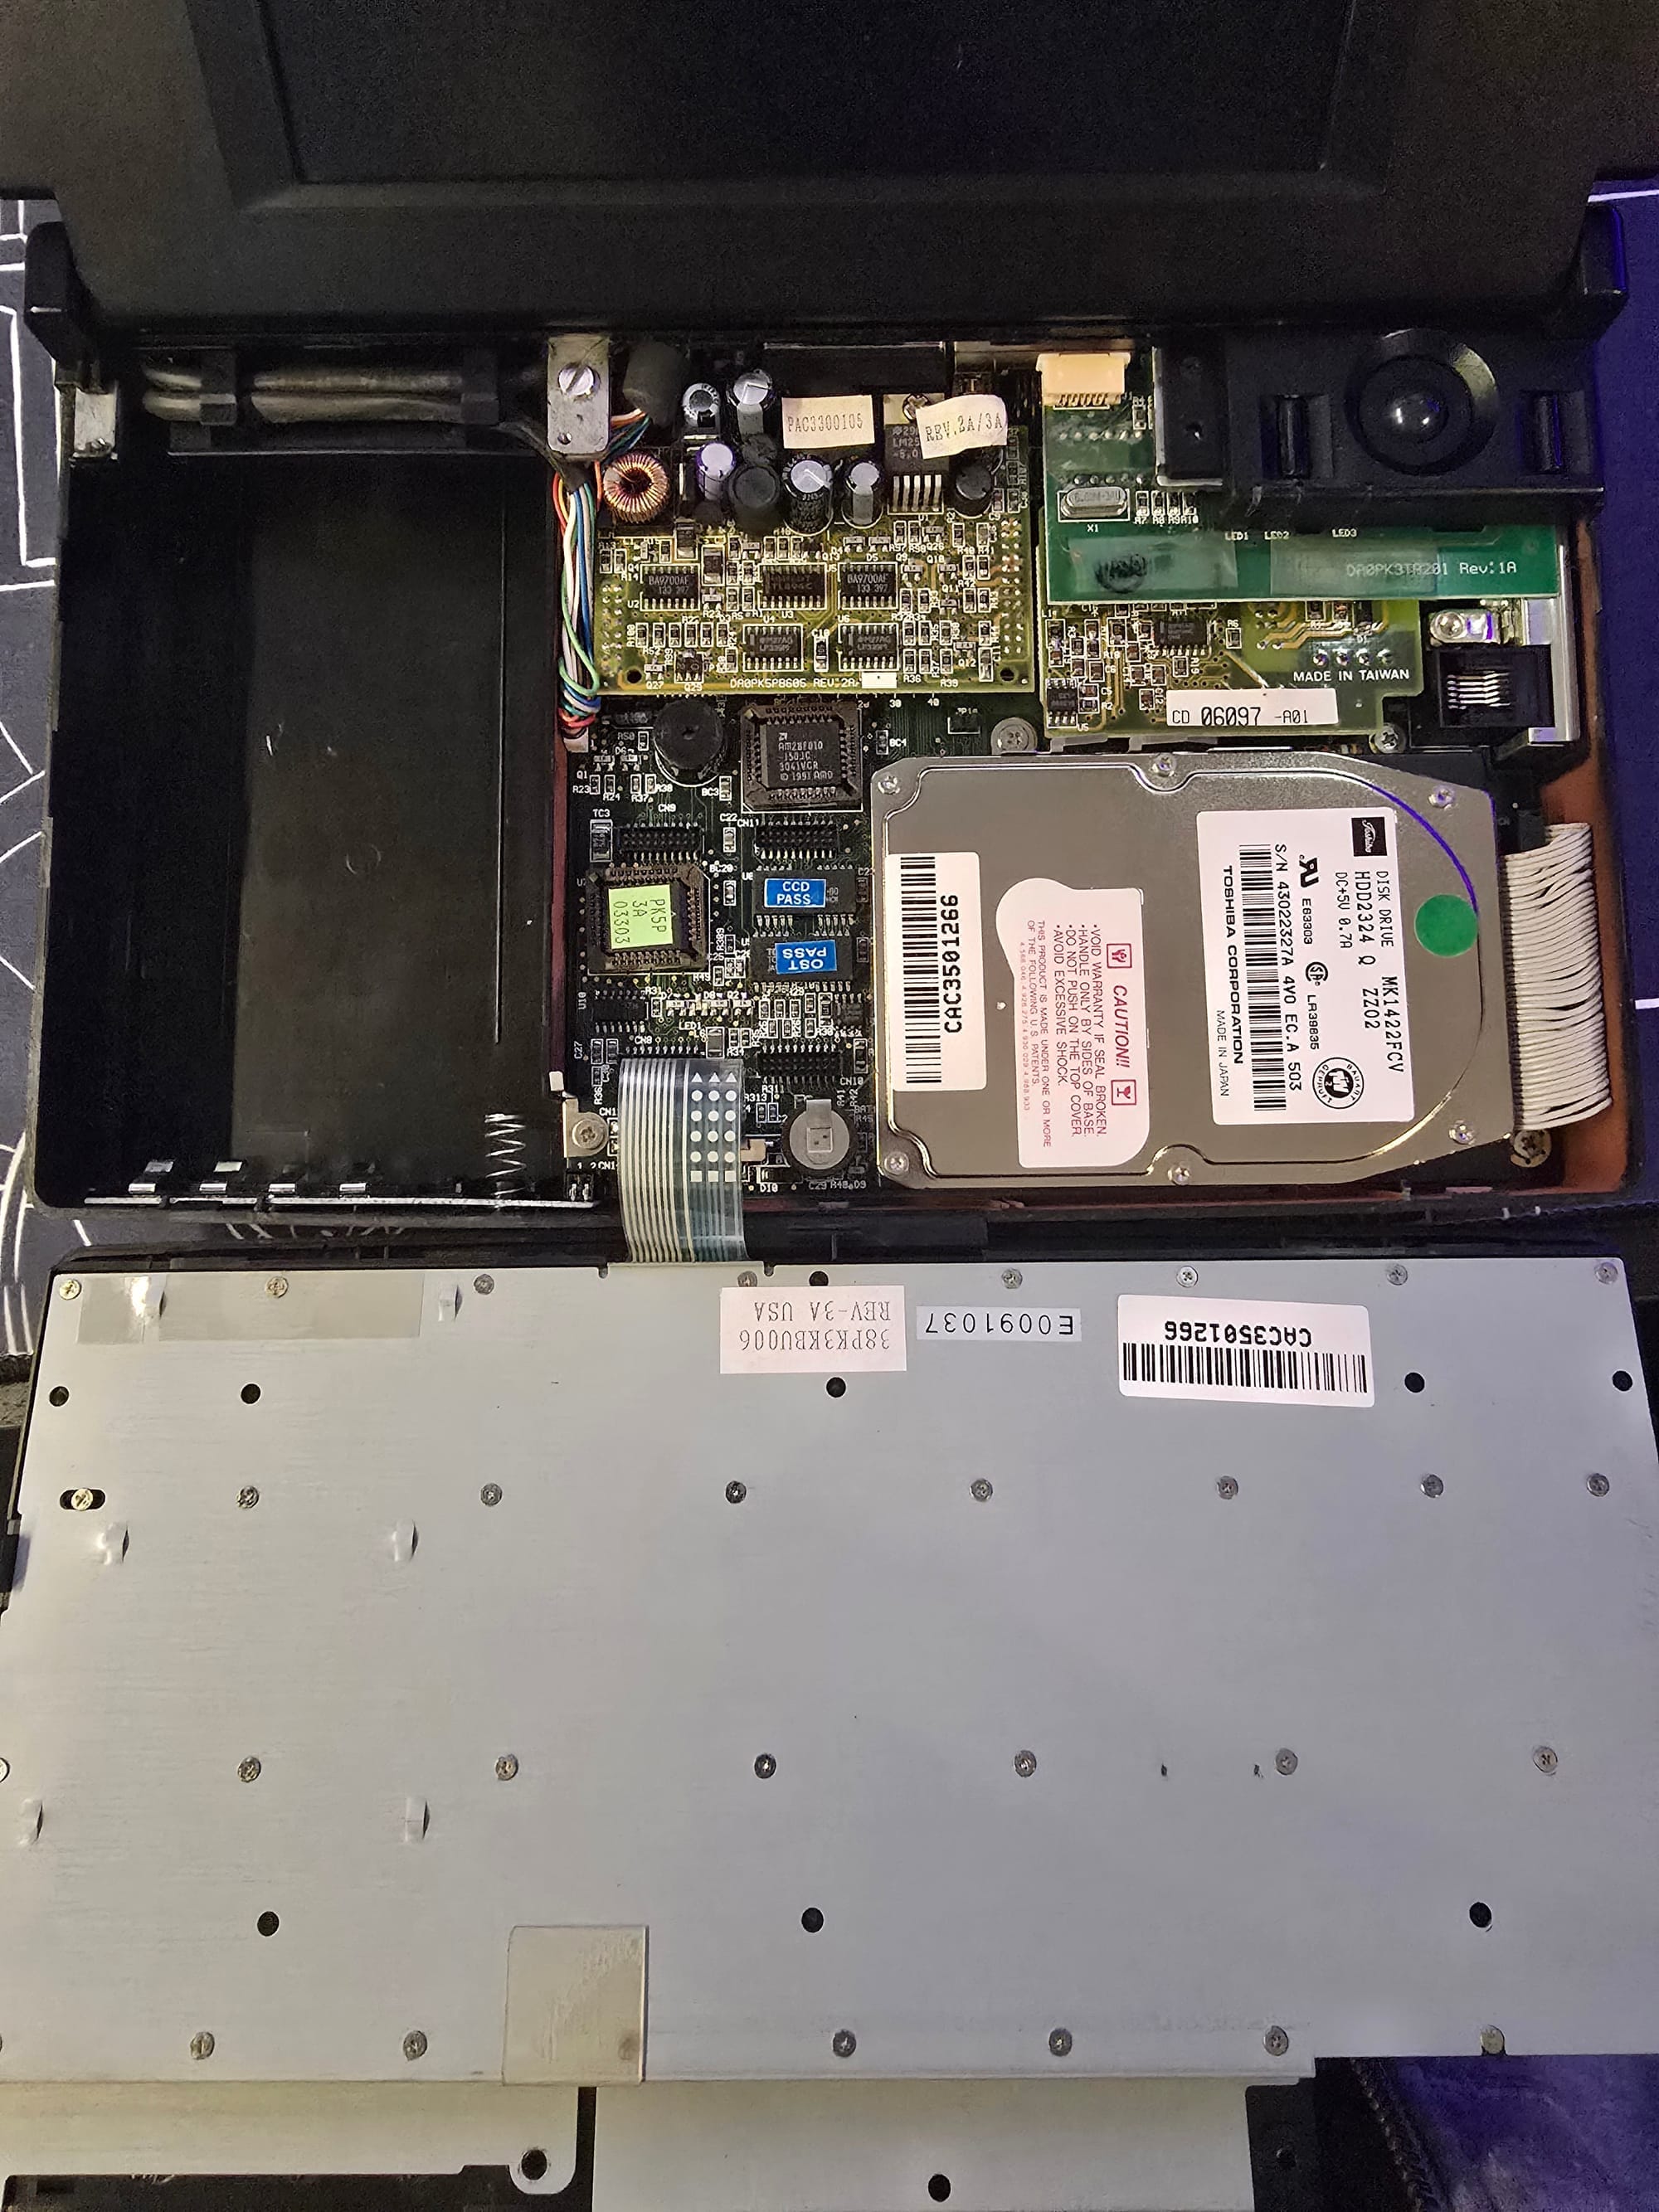
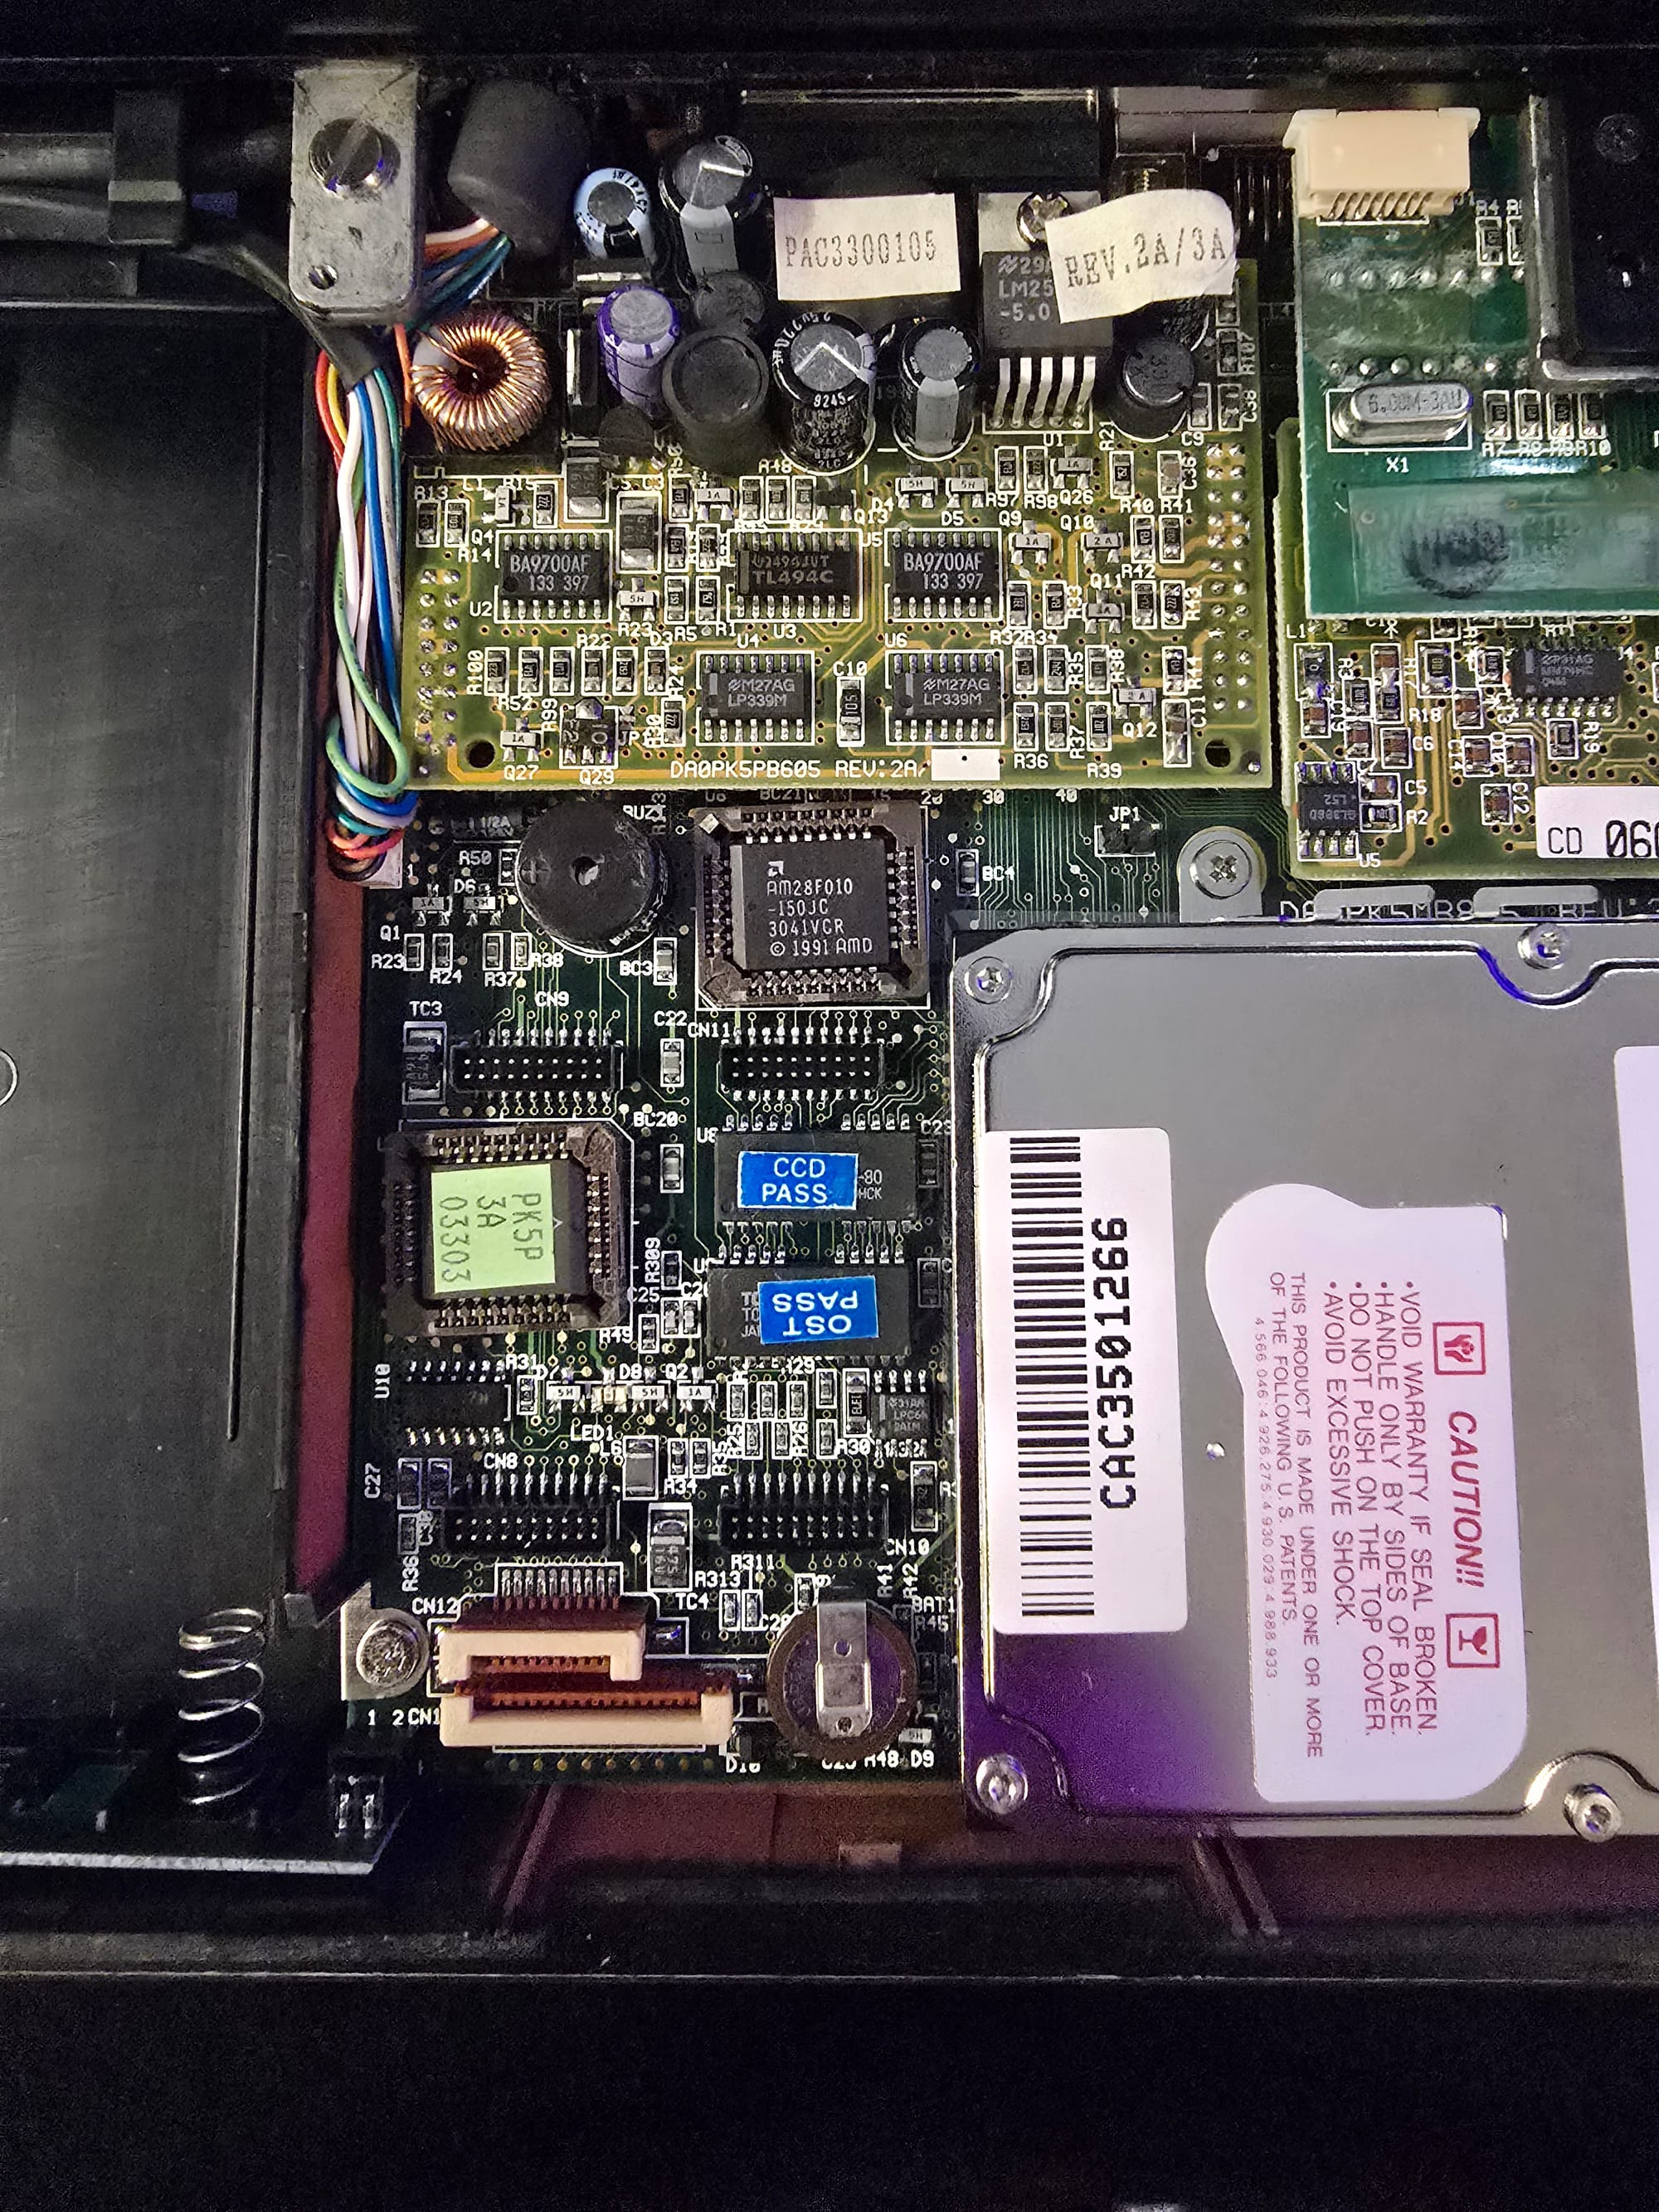
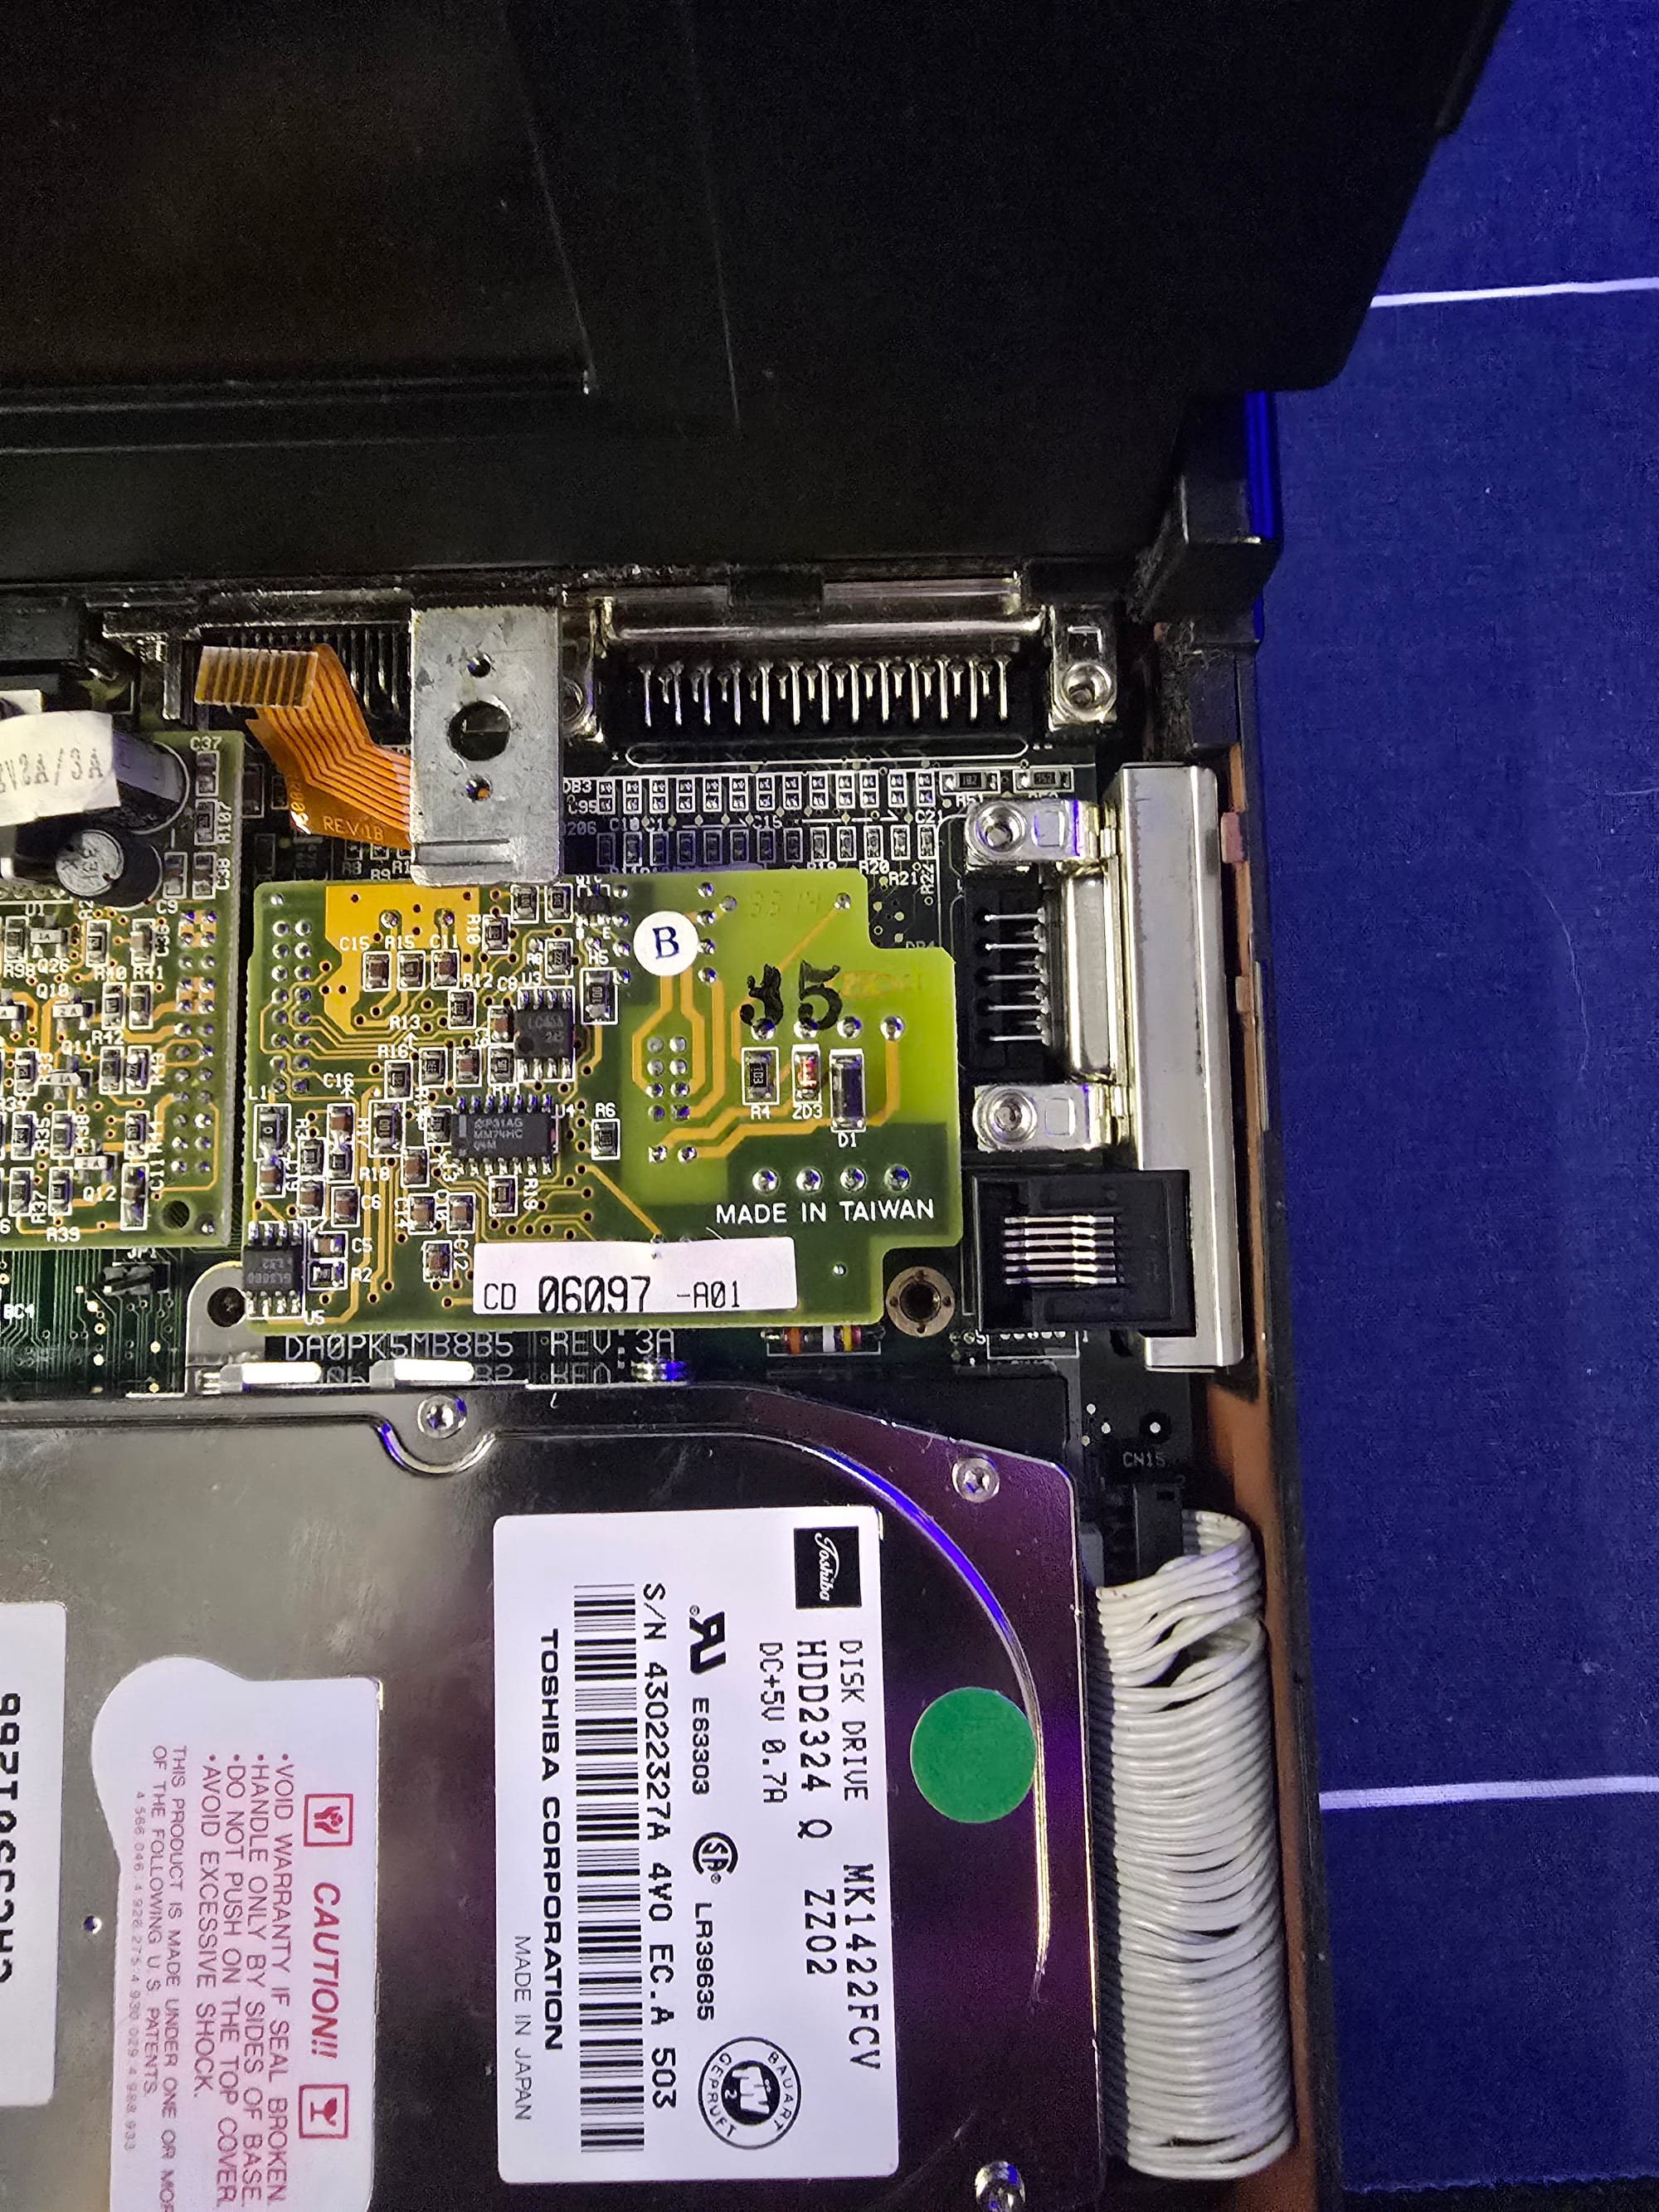
86MB Toshiba 2.5" ATA hard drive
External ports for VGA, 25 pin parallel, 9 pin serial, and a built-in modem
External 3.5" floppy port, proprietary, and of course missing
The Hard Drive Saga
The hard drive is a 44 pin, 2.5" ATA hard drive. I don't hear it spinning.
I gently whack it a couple of times, no luck. Power off/on, no luck. I suspect it's at least stuck, maybe dead.
Of course I have a few spare drives of various sizes kicking around, so, into the case we go to get the old one out!
The keyboard has easy to locate screws underneath the shortcut strip, so, removing those:
Uh-oh. There's no visible mounting screws, which means it's probably screwed in from the bottom.

Looks like two FPC connectors to get the keyboard loose:

They remove in the usual way, via careful a upward tug on the white part of the connectors to remove the ribbons.
I see a number of visible screws. I start with the one that will release the trackball, and release its FPC ribbon as well.
The modem card lifts right out. The power board does not, so I'm forced to remove the screen as well. The screws for that are basically all of the visible screws on the back panel, plus a large silver screw right next to the display cables.
The display cables unplug with a careful tug. With the screen free and both of the daughter cards removed:
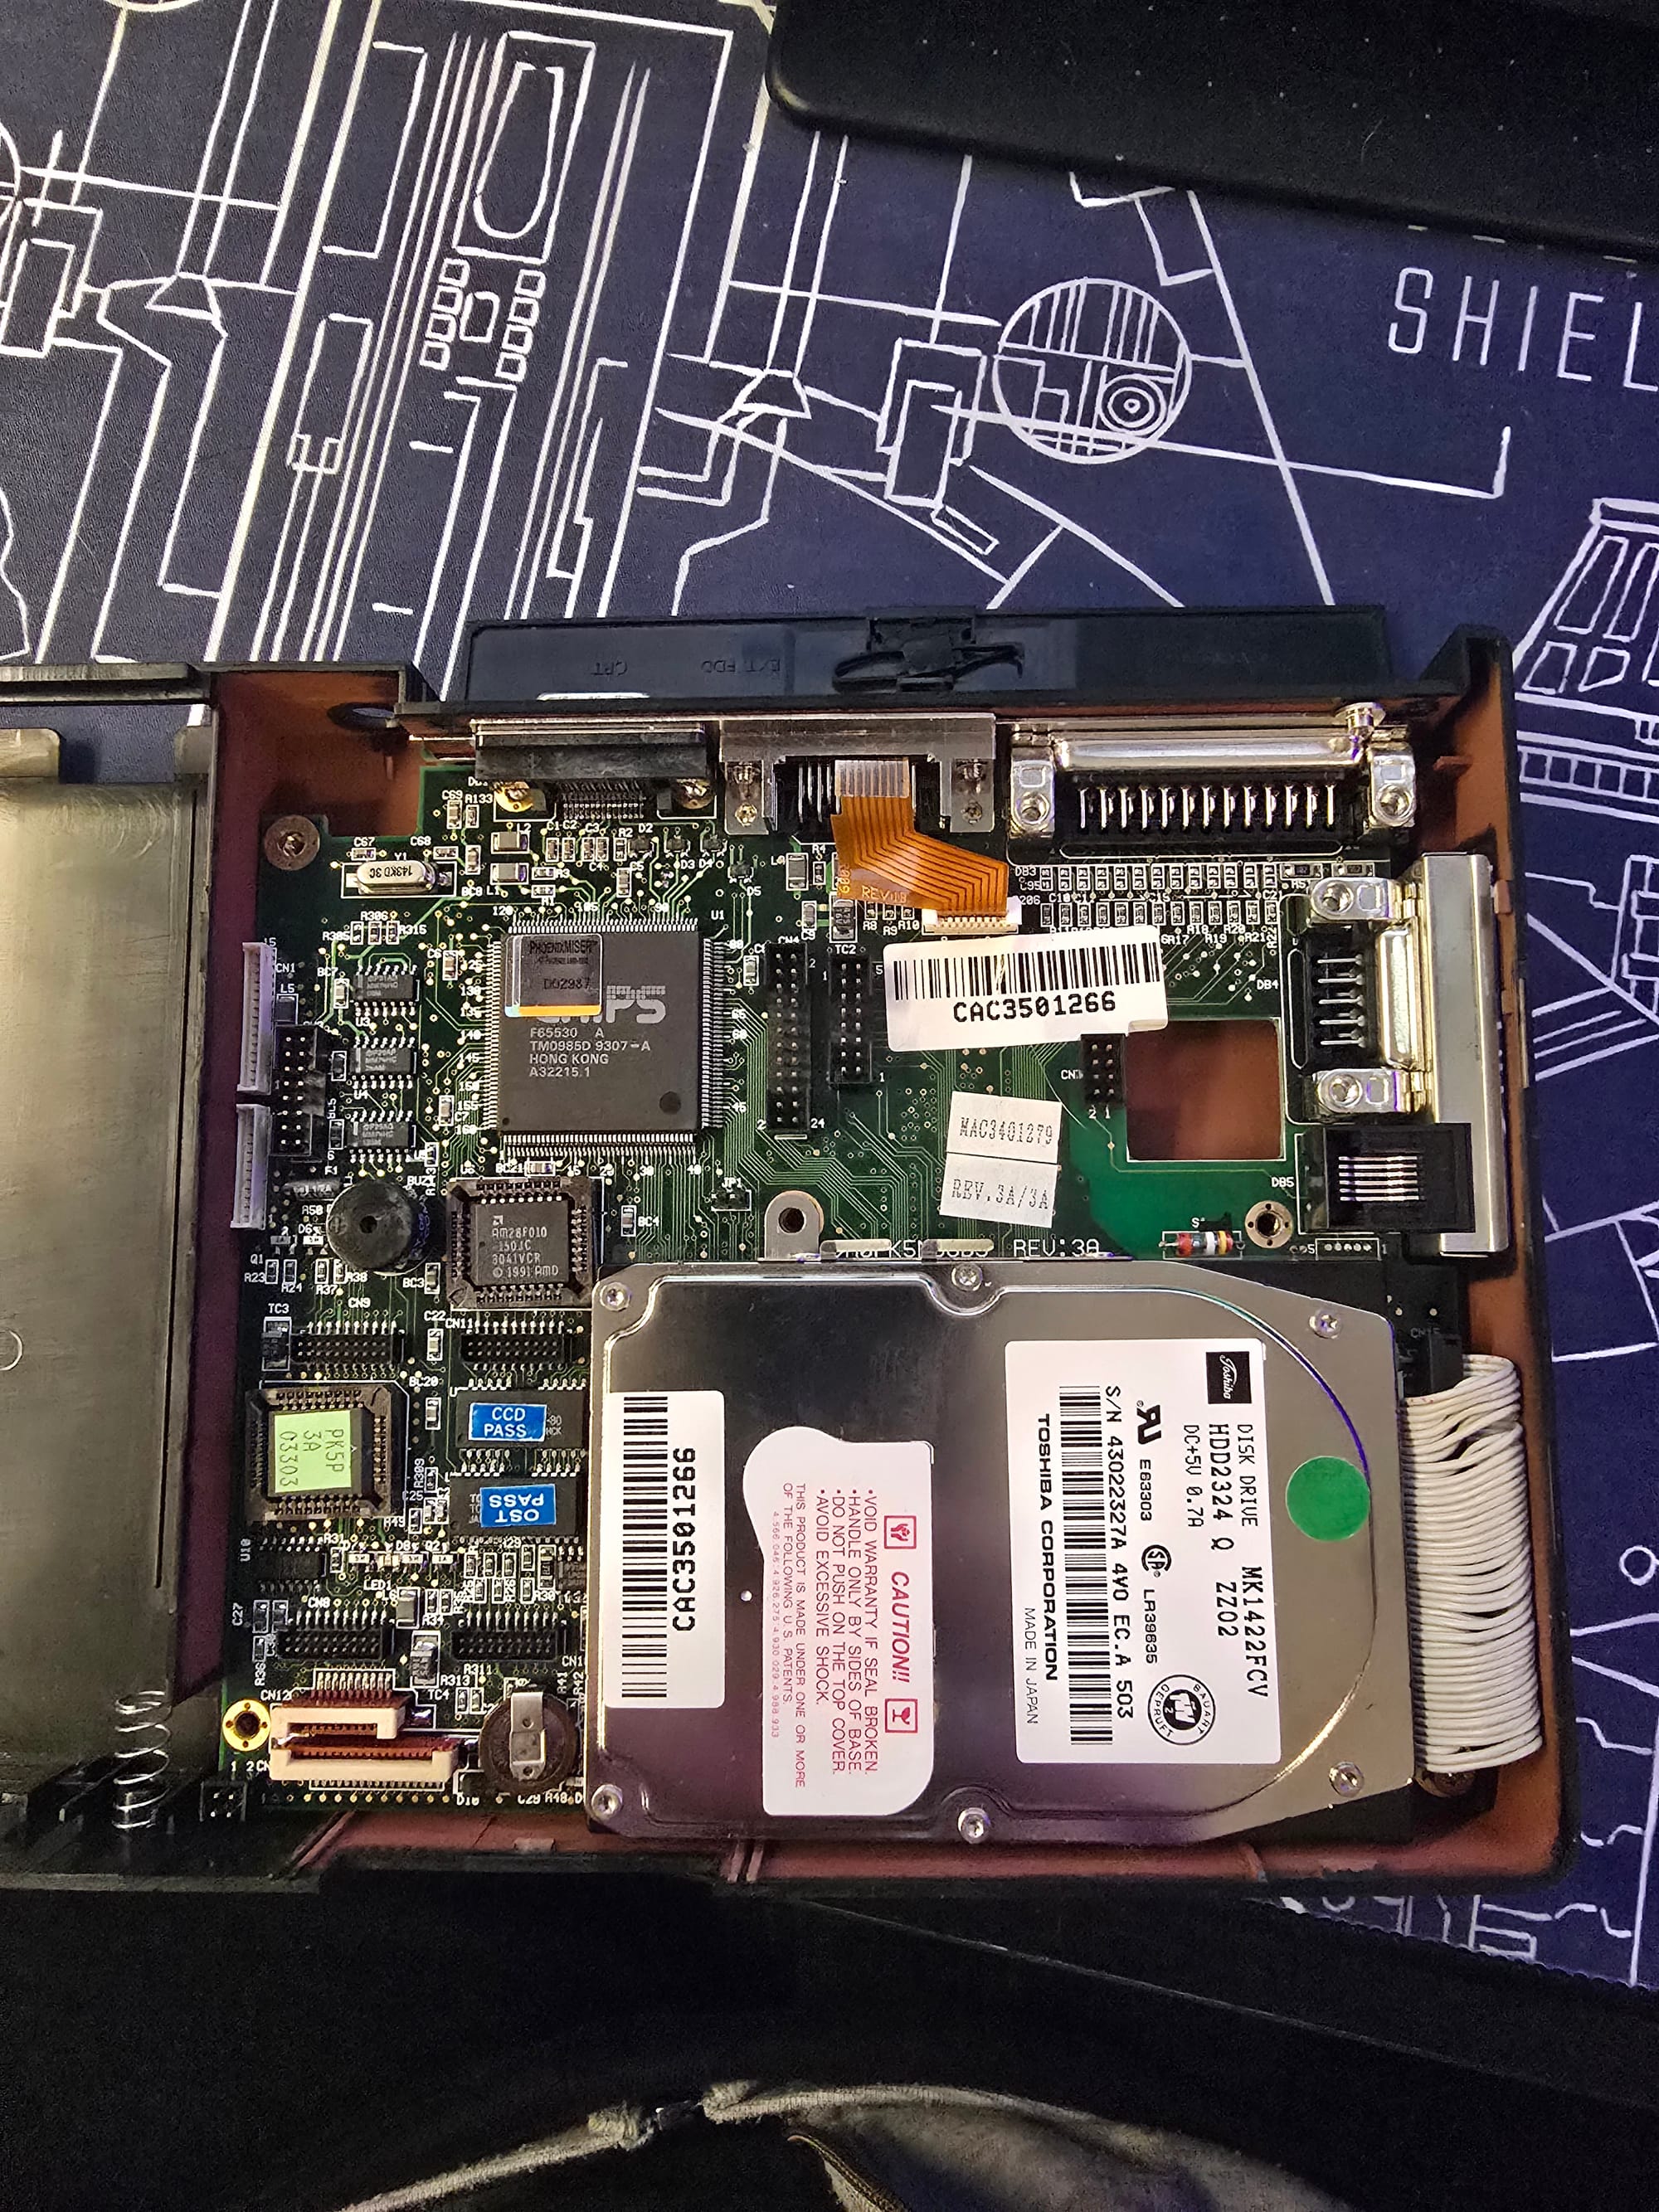
All the cables are free. Removing all of the visible screws makes it easy to pull the system board out.
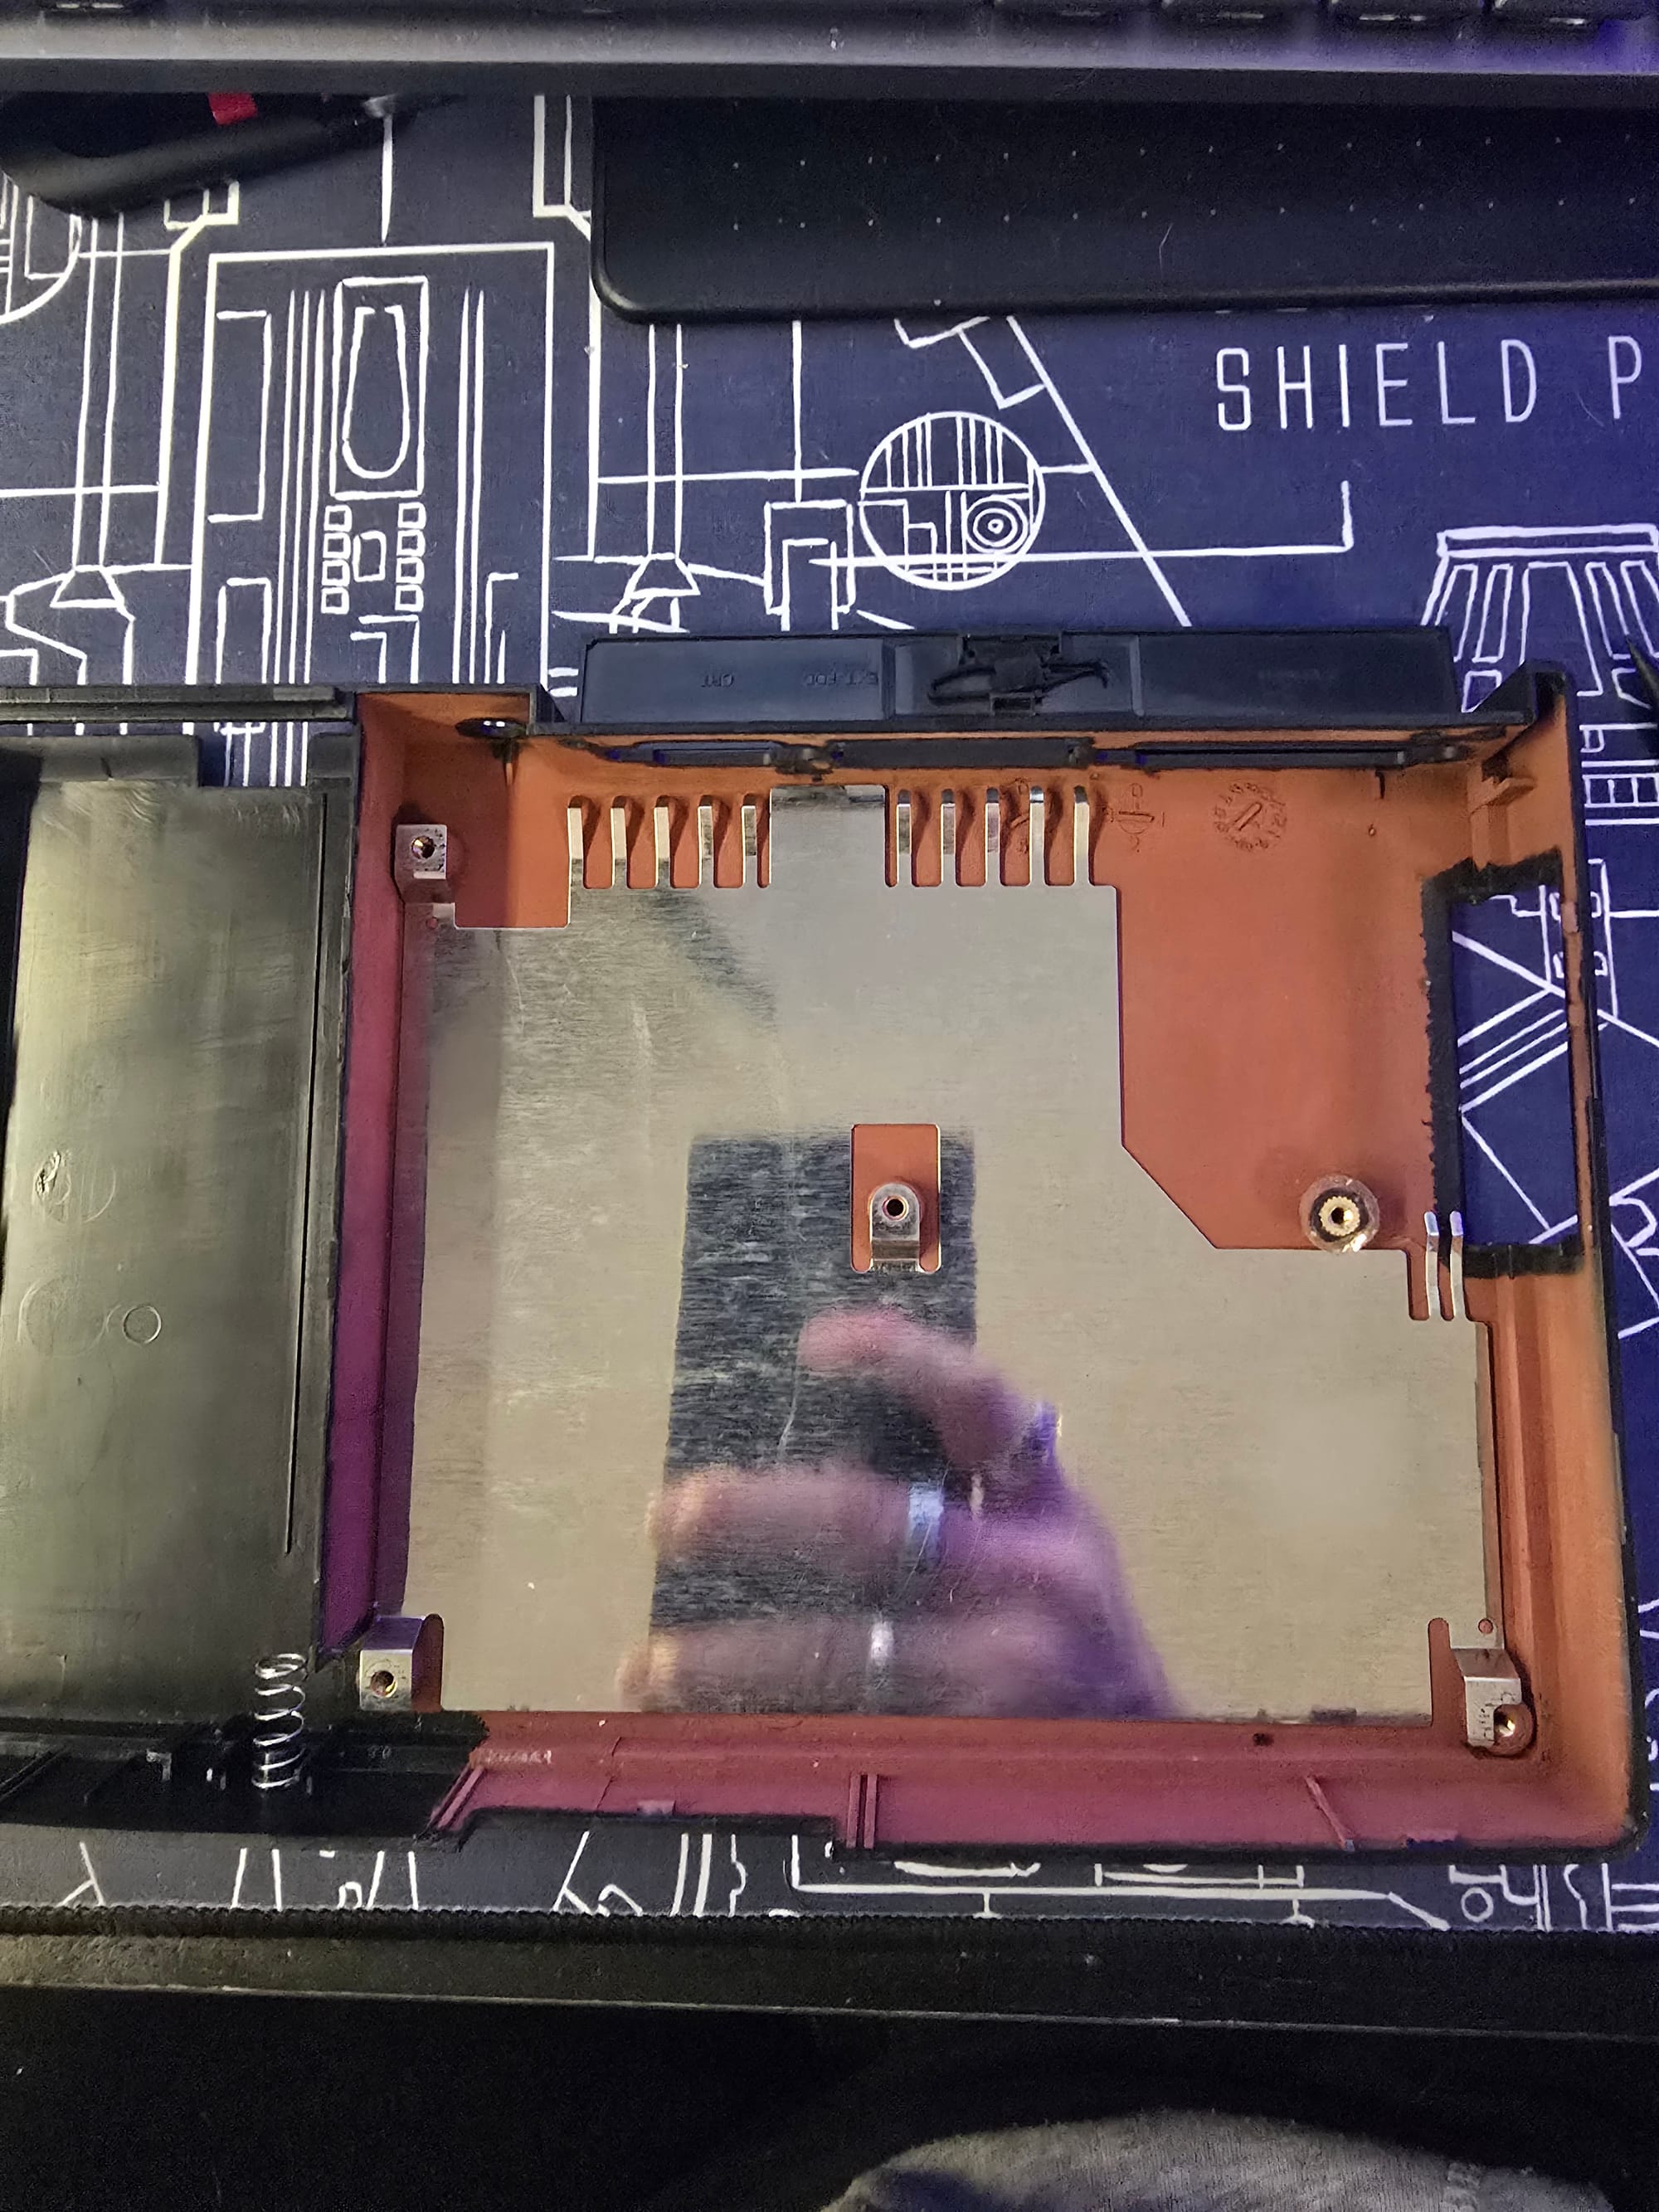
The three screws visible in the photo above release the hard drive, allowing me to unplug it.
We continue in the next post.