The Zeos Contenda: The BIOS
In the last couple of posts, we explore the disassembly of a Zeos subnotebook. The following post explored trying to get any kind of storage up and running on it.
As I mentioned in the previous page, I've got a chip reader - an XGecu T48 - and a pile of adapters for it. So I pulled the BIOS chip, on of the two 32 pin PLCC chips seen here:

The BIOS chip is the AM28F010-150JC chip next to the speaker. The one with the green label on it is a OTP (one-time-programmable) chip, basically a ROM chip. I downloaded it also but thus far have found nothing in it that seems pertinent.
A brief segue into flash chips
This is a 128k, 12V program voltage flash chip. End of life, not made any longer; if you want one you're looking to find some NOS (new old stock) or one that's just plain used.
I have 10 NOS units on order from eBay; once those come I will feel much better about attempting some BIOS hacking. The first test will be just to flash what I read out of the stock chip onto a new one and see if it will boot with it in there. More to come on that.
Back to the story
I read out the BIOS (file here for posterity). Here's the boot screen it produces:
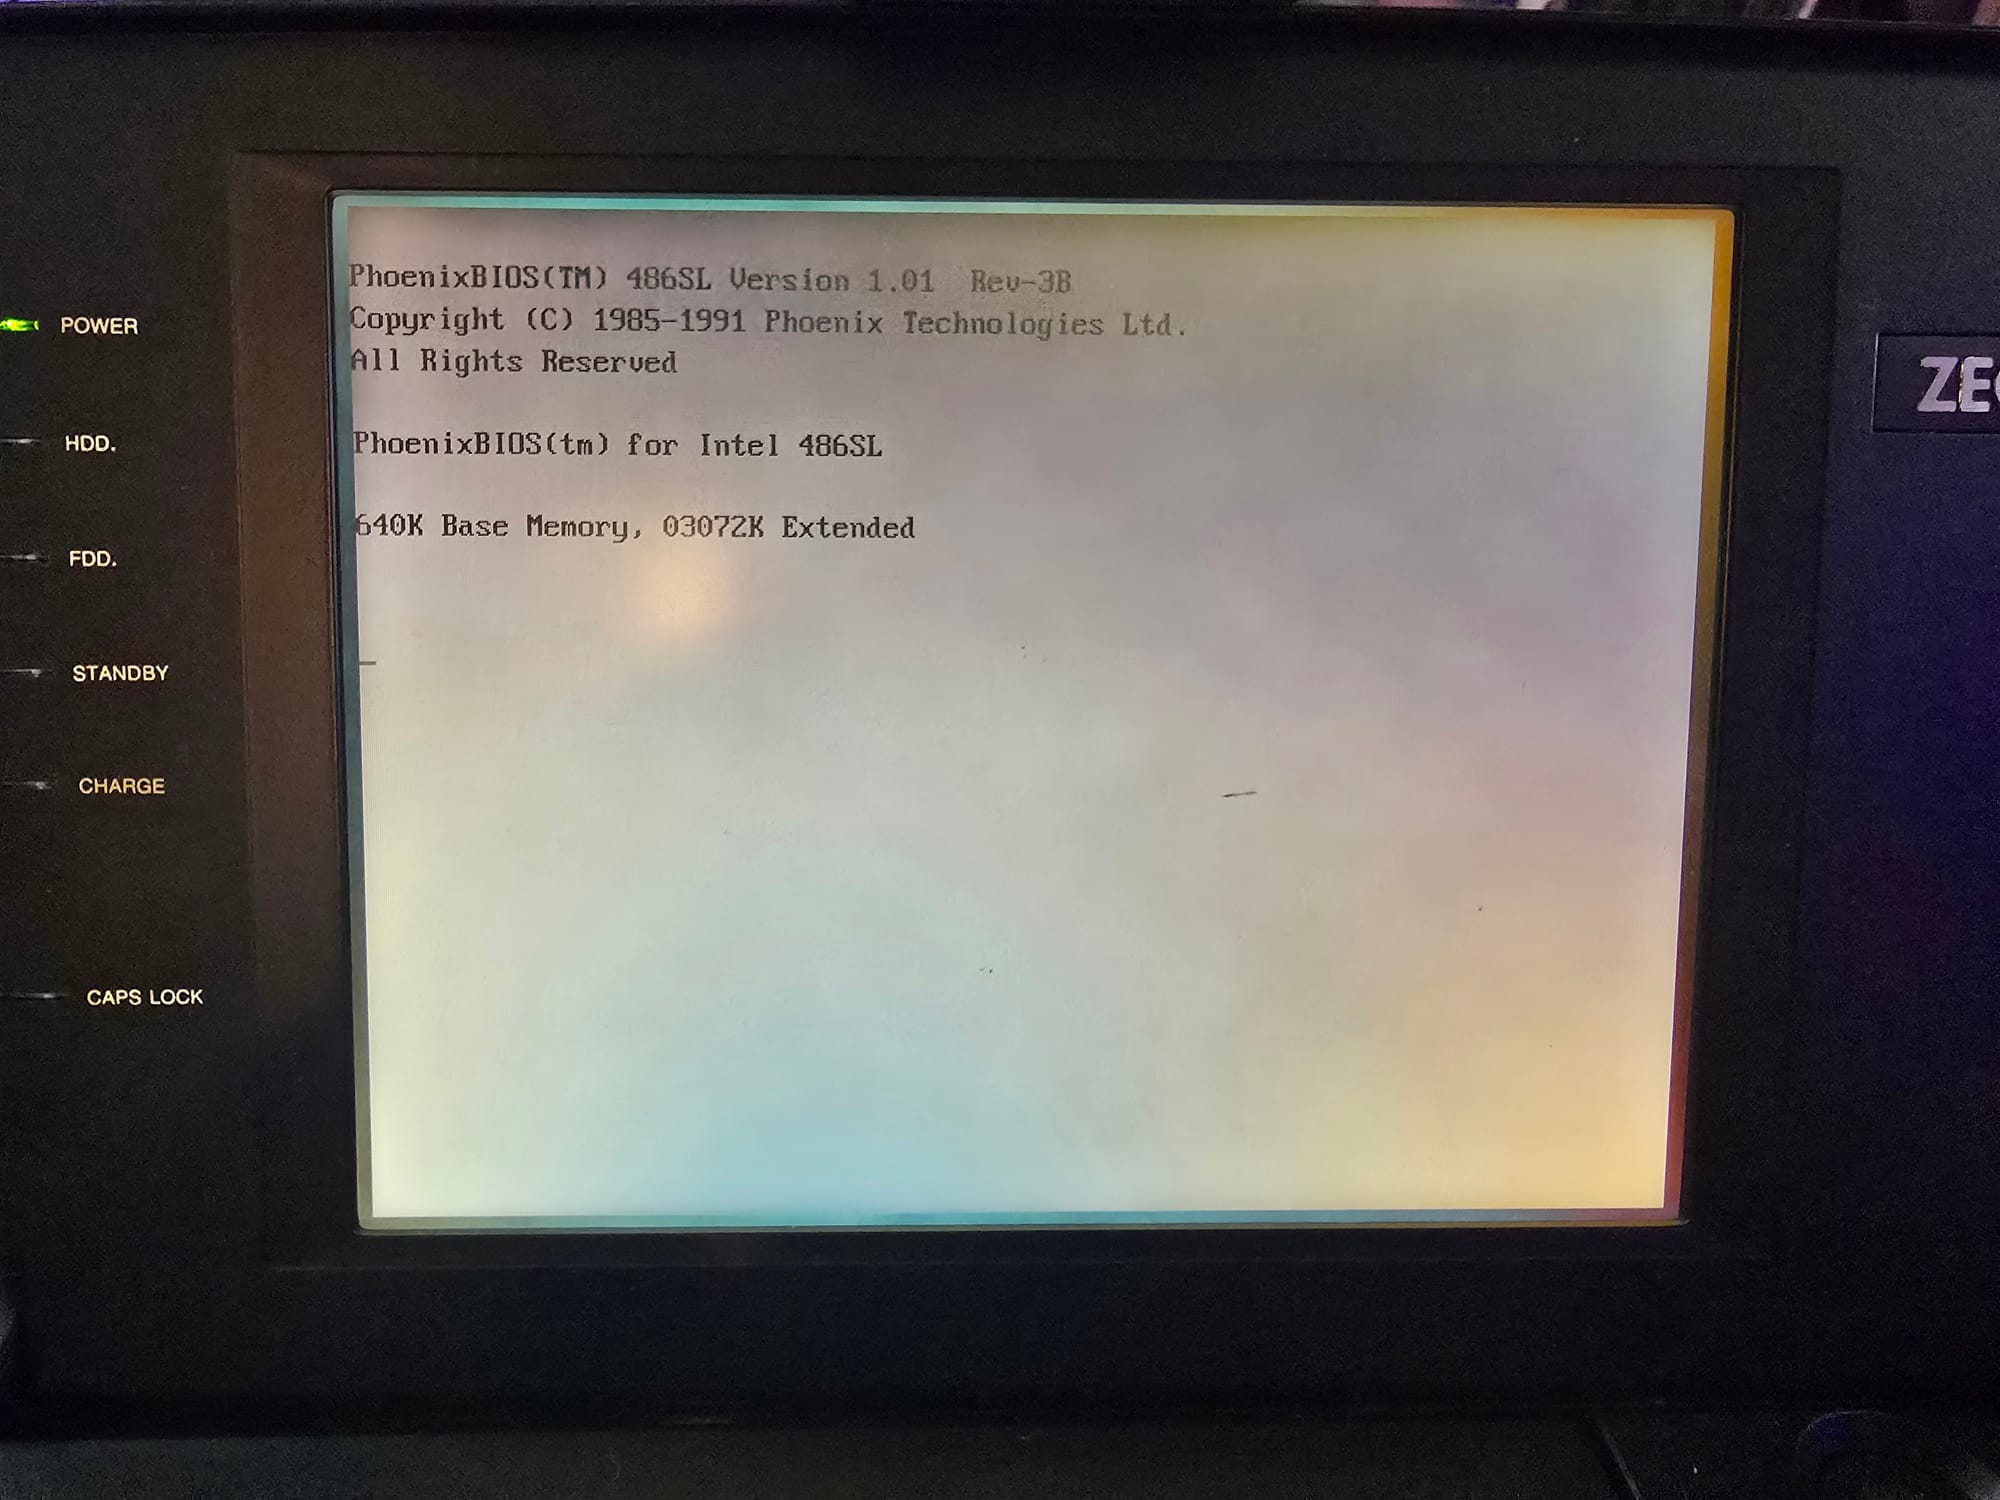
It's a PhoenixBIOS, version 1.01, according to the screen, though it's likely it's actually PhoenixBIOS Plus since it has a built-in SETUP program.
Lazy first look with the strings command reveals about what one would expect.
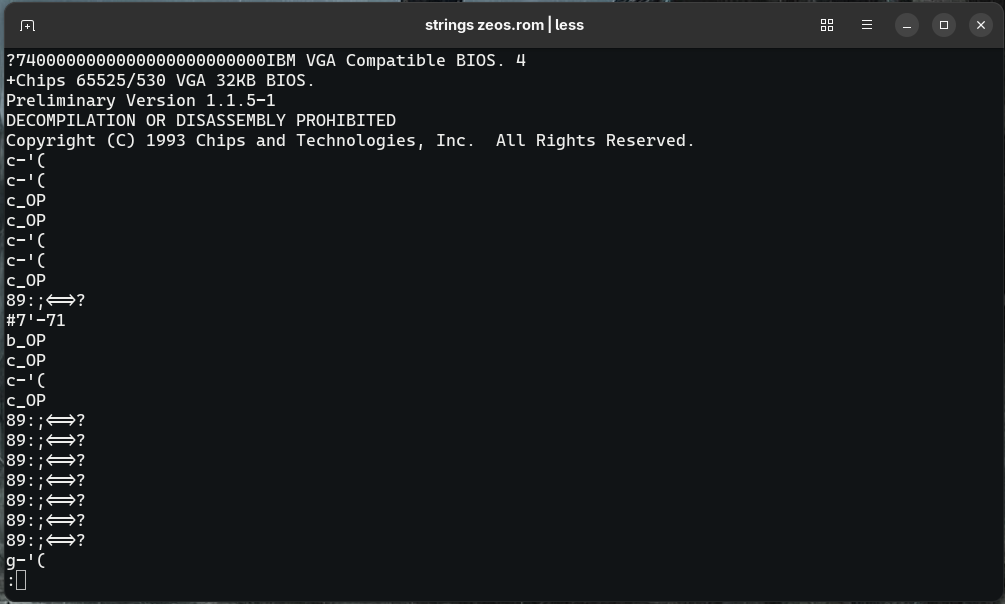
The first section is clearly the VGA BIOS. Scrolling on down:
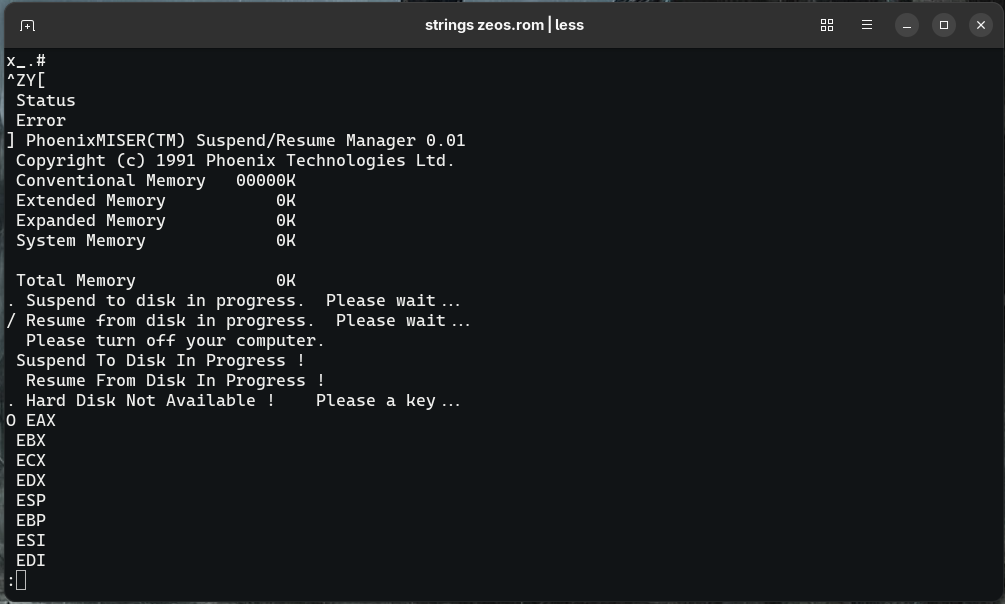
A little further down, I see the strings that make up all of the menus. Including the text for drive geometry, even though that feature was needlessly patched out.
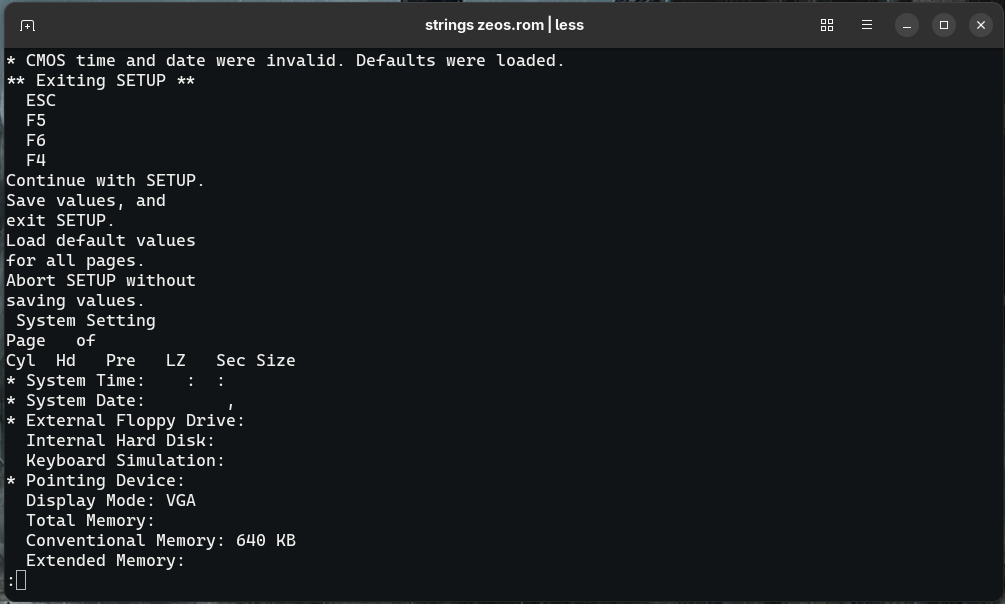
Finally, something else that looks promising:
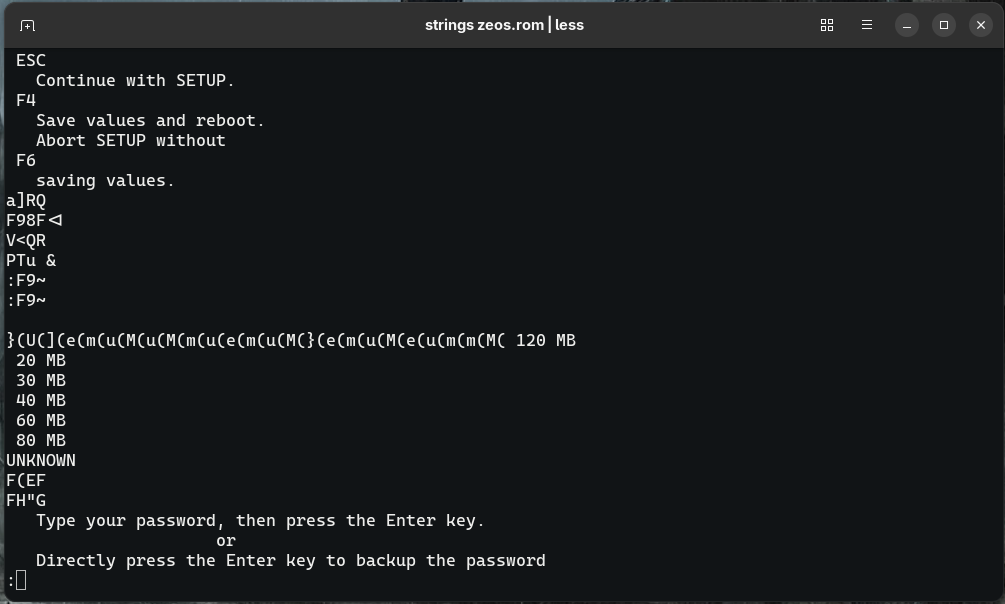
This list looks like the drive sizes it will accept. Mine is technically rated at 86MB, but that seems close enough to 80 that it's probably what would show if the drive worked.
Sadly I have nothing in any of those sizes. And this BIOS is too old for the Phoenix BIOS Editor to know how to open it.
So here we sit right now. As I see remaining options:
- Drop the $150+ on a replacement old hard drive. Hard pass.
- Figure out where to hex edit the BIOS to put in a different drive geometry. This has possibilities, though I have yet to find any guidance on where to start with this.
- Gut it. Put in a color screen, rebuild the battery with lithium ion cells, 3D print a new backplace, and stick an SBC of some sort in there. There's likely enough room for the screen driver board and a custom keyboard interface board.
I'm hoping that the hex edit option works out... I love the idea of making it into an odd little Linux machine if it comes to that, but I'd rather see it live again as it was intended to. I have plenty of Linux machines.